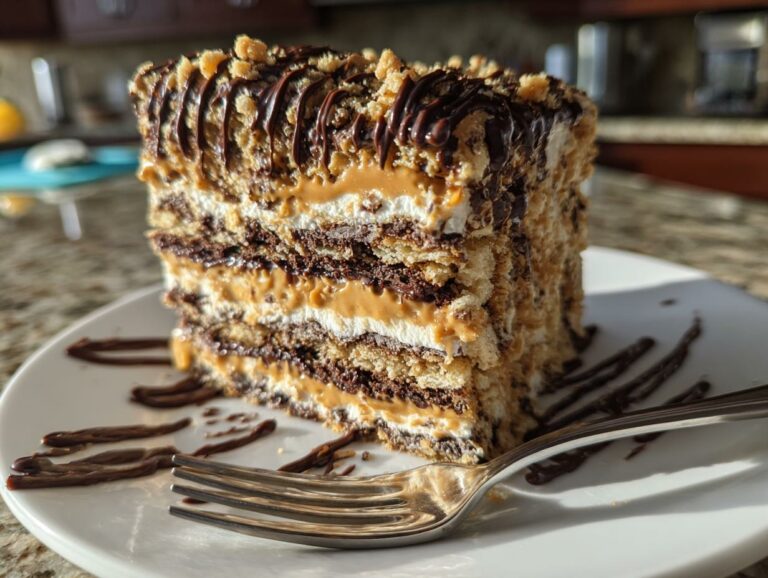
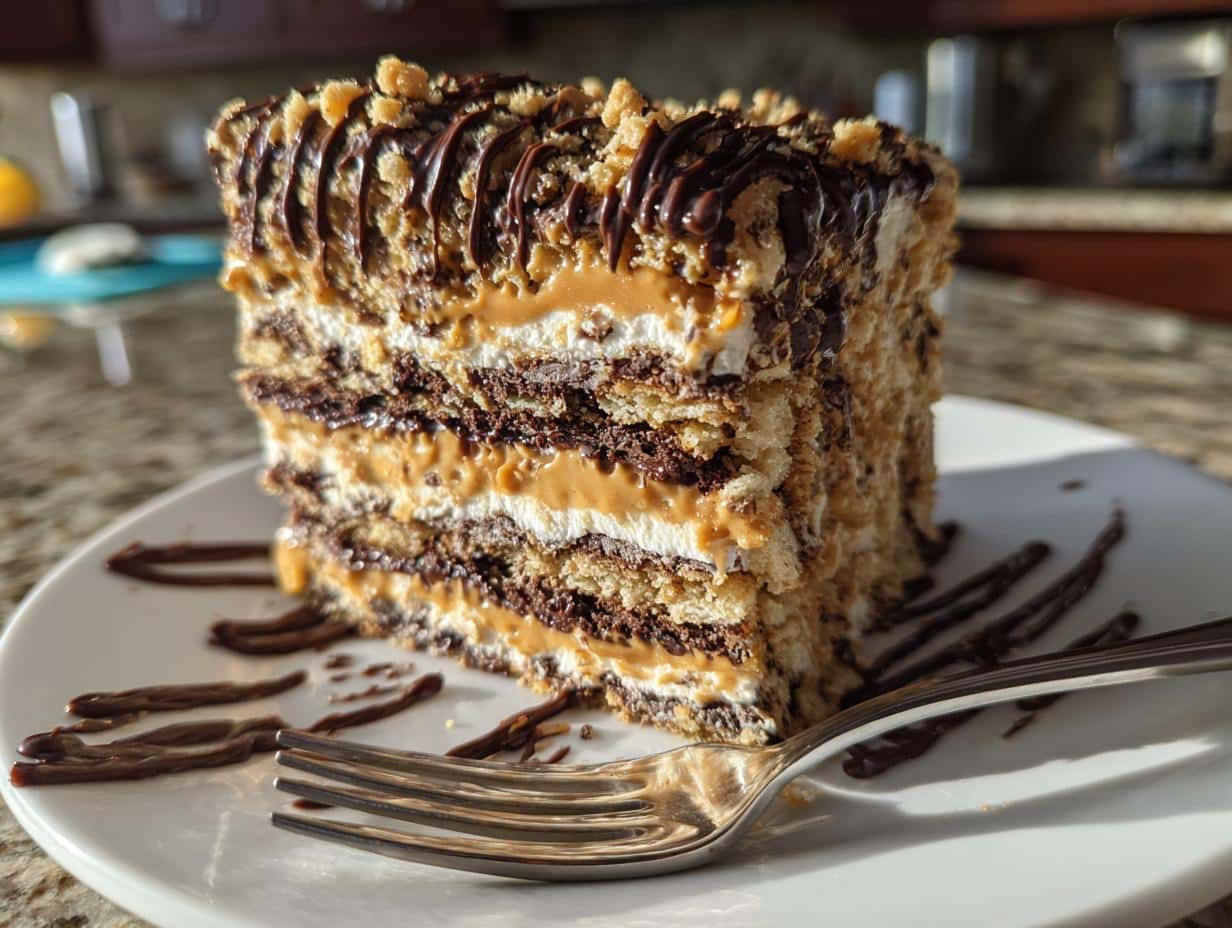
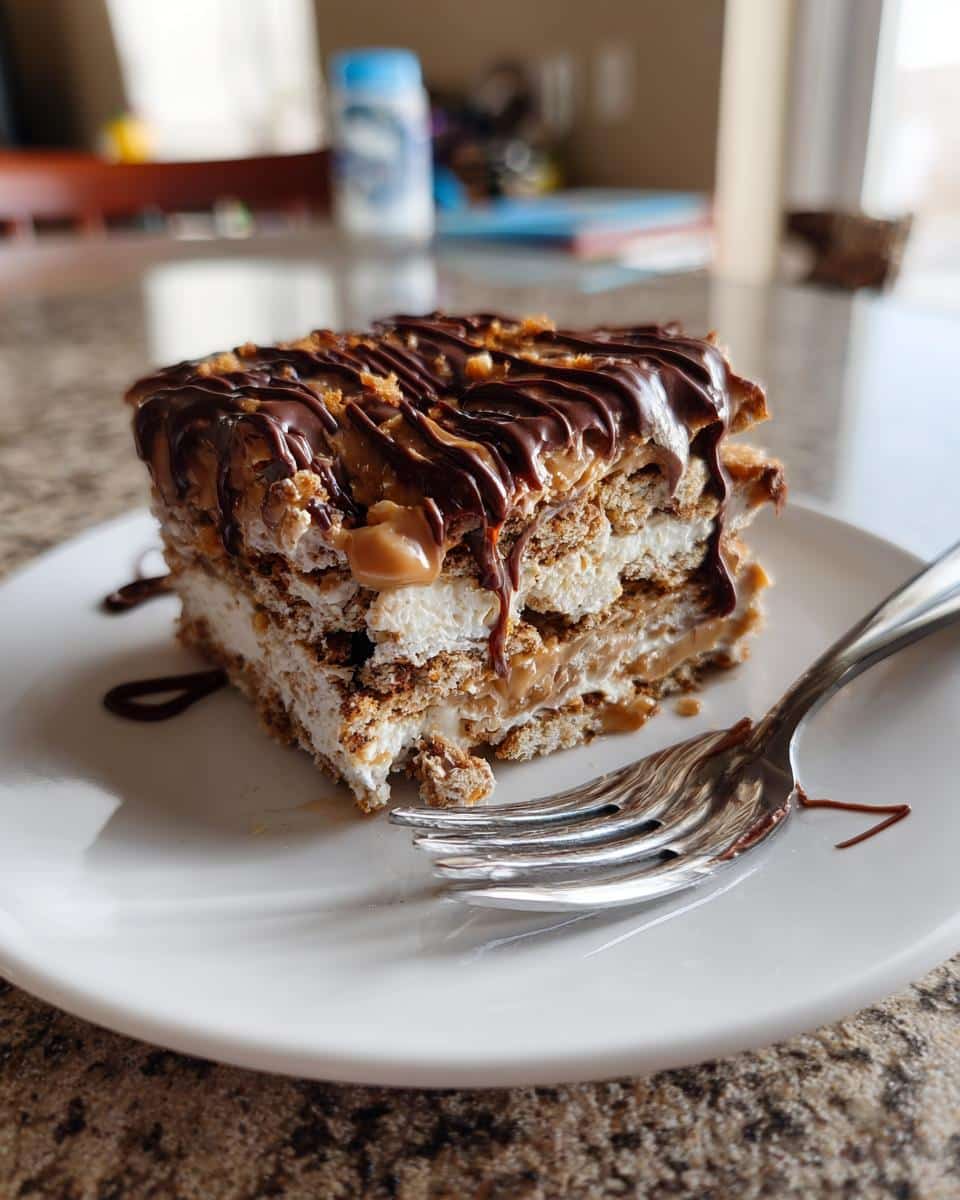
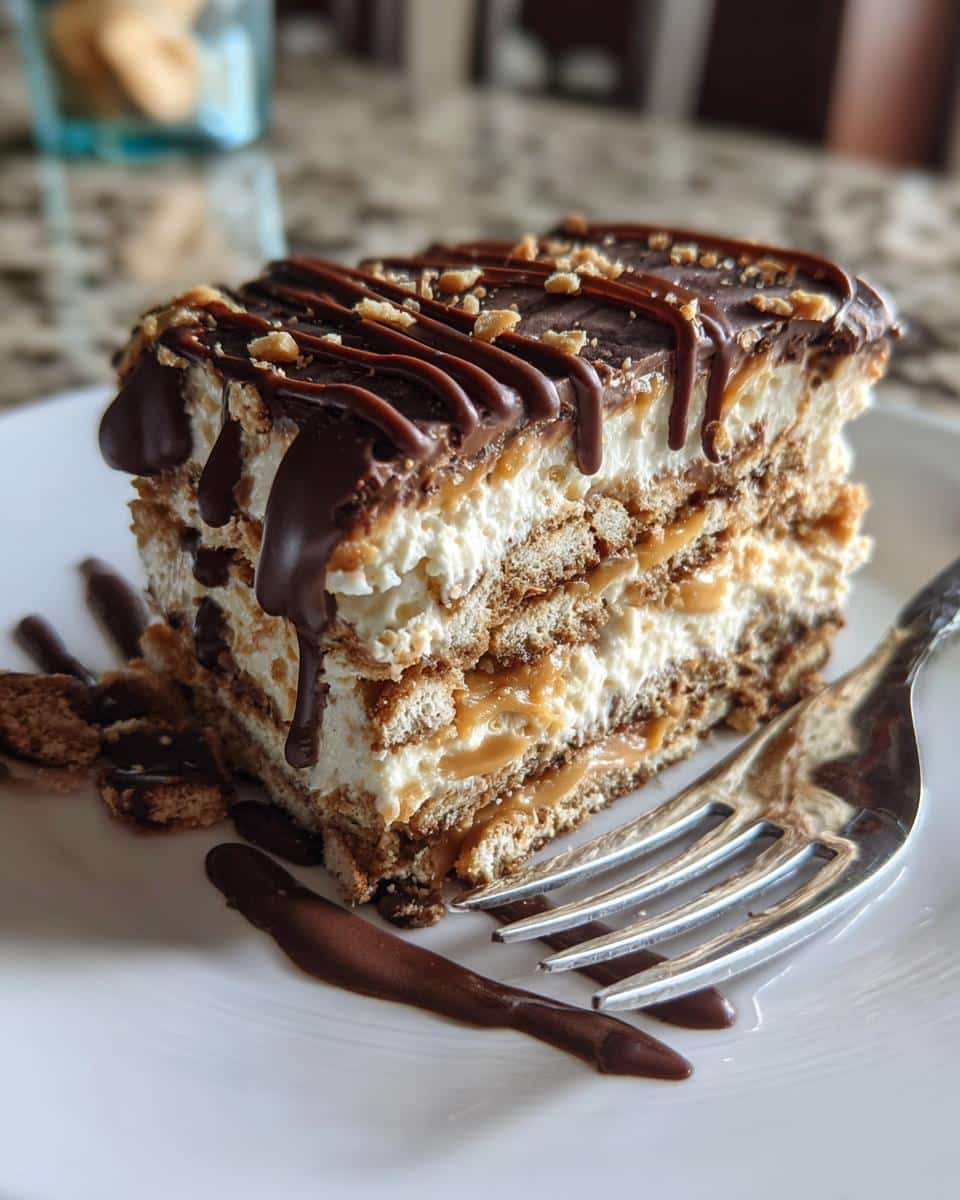
Oh, this Peanut Butter Cup Icebox Cake! It’s one of those recipes that just makes everyone’s eyes light up. I remember the first time I made it for a summer barbecue – it was gone in minutes! It’s the kind of dessert that feels so special and decadent, but honestly, it’s ridiculously easy to throw together. No oven required, which is a lifesaver on hot days, and it tastes even better made ahead. It’s become my go-to for birthdays, potlucks, or just when I need a little bit of chocolate-peanut butter heaven in my life.
Why This Peanut Butter Cup Icebox Cake is a Must-Try
Honestly, this cake ticks all the boxes for a perfect dessert! It’s one of those winners that’s simple to make but looks and tastes like you spent hours on it. If you’re looking for a truly easy icebox cake recipe, you’ve found it!
- Simple Assembly, Spectacular Results
Seriously, the layering is so straightforward. You just crush some cookies, mix a few things, and layer it up. Even if you’re new to baking (or no-baking!), you’ll end up with a gorgeous, impressive no-bake layered dessert that looks like it came from a fancy bakery. - Perfect for Any Gathering
This is a dream for anyone hosting. It’s a fantastic make-ahead party dessert, meaning you can whip it up the day before and have one less thing to worry about on the day of. Plus, it’s one of those universally loved flavors, making it a guaranteed hit for any occasion, especially as a quick summer dessert.
Gather Your Ingredients for the Perfect Peanut Butter Cup Icebox Cake
Alright, let’s get down to business! To make this amazing Peanut Butter Cup Icebox Cake, you’ll need a few things that are probably already in your pantry, or super easy to grab. Having everything ready makes the whole process a breeze, trust me!
Core Components for Your Peanut Butter Cup Icebox Cake
First up, we need the base for our cake. Grab 24 chocolate sandwich cookies – think Oreos or something similar – and we’ll turn them into crumbs. Then, you’ll need 1 cup of creamy peanut butter and 1/2 cup of melted unsalted butter to mix with those crumbs for our crust. For the creamy filling, we’ll use 8 ounces of softened cream cheese, which gives it that lovely rich texture, and 2 cups of heavy whipping cream that we’ll whip up until it’s nice and fluffy.
Sweeteners and Flavor Enhancers
To make our filling super smooth and just the right amount of sweet, we’ll need 1 cup of powdered sugar mixed into the cream cheese. A little splash of 1 teaspoon of vanilla extract goes into that mixture too, just to boost all those delicious flavors. We’ll use another 1/2 cup of powdered sugar and 1 teaspoon of vanilla extract in the second layer of filling for that extra bit of sweetness!
The Chocolatey Topping
And for that irresistible finish? We’ll melt down 8 ounces of semi-sweet chocolate with 1/4 cup of creamy peanut butter. It creates the most decadent drizzle!
Step-by-Step Guide to Making Your Peanut Butter Cup Icebox Cake
Alright, let’s get this magic made! Making this Peanut Butter Cup Icebox Cake is really more like assembling a delicious puzzle than actual baking. It’s so satisfying to see it come together layer by layer. Let’s dive in!
Preparing the Base Layer
First things first, we need to get our base ready. Take those 24 chocolate sandwich cookies and give them a good crush. You can pop them in a zip-top bag and give them a whack with a rolling pin, or pulse them in a food processor until they’re fine crumbs. Now, mix these crumbs with the 1/2 cup of melted butter. Press this mixture evenly into the bottom of an 8×8 inch baking dish that you’ve lined with parchment paper. Make sure it’s packed down nicely – this is the foundation of our cake!
Crafting the Creamy Filling
Next, for that dreamy filling! Grab your softened cream cheese and beat it in a medium bowl until it’s super smooth. Seriously, no lumps allowed! Then, beat in that 1 cup of powdered sugar and 1 teaspoon of vanilla extract until everything is well combined and looks like luscious frosting. Now, in a separate bowl, whip your heavy cream until you get lovely stiff peaks – you know, when you lift the whisk, the cream stands up straight. Gently, and I mean *gently*, fold about half of that whipped cream into the cream cheese mixture. You want to keep all that air you whipped in, so don’t go crazy stirring. Just fold until it’s mostly combined.
Assembling the Layers
Okay, time for the fun part – layering! Spread half of that amazing peanut butter mixture (the one you made with the cream cheese, powdered sugar, vanilla, and whipped cream) evenly over your cookie crust. Then, carefully spread the other half of that creamy filling over the first layer. It’s like building a delicious cloud!
The Irresistible Chocolate Peanut Butter Drizzle
For the grand finale, we’re making that gorgeous topping. Melt the 8 ounces of semi-sweet chocolate with the remaining 1/4 cup of creamy peanut butter. You can do this in the microwave in short bursts, stirring in between, or over a double boiler. Once it’s smooth and glossy, drizzle it all over the top layer of your icebox cake. It looks so pretty and tastes divine!
The Crucial Chilling Process
Now, the hardest part: waiting! You absolutely *must* chill this Peanut Butter Cup Icebox Cake for at least 4 hours. I usually pop mine in the fridge overnight. This is super important because it allows the flavors to meld together and, more importantly, for the cake to set up properly. You want it firm enough to slice cleanly, so don’t rush this step. Trust me, the wait is totally worth it!
Tips for an Unforgettable Peanut Butter Cup Icebox Cake
Okay, so you’ve got the recipe, and you’re ready to make magic! Here are a few little tricks I’ve picked up that make this Peanut Butter Cup Icebox Cake extra special. They’re small things, but they really make a difference!
Achieving the Perfect Crust Texture
When you’re pressing that cookie crumb and butter mixture into the pan, really give it a good, firm press. Use the bottom of a glass or a measuring cup! This makes sure your crust is nice and solid, so it doesn’t crumble when you cut into the cake. It’s the foundation, so make it count!
Whipped Cream Wonders
For that super light and airy filling, make sure your heavy cream is really cold when you whip it. And when you’re folding it into the cream cheese mixture, be gentle! Use a spatula and a folding motion, lifting from the bottom and turning it over. We want to keep all those lovely air bubbles in there; that’s what makes it so creamy and dreamy.
Enhancing Your Peanut Butter Cup Icebox Cake
If you really want to go the extra mile, and who doesn’t with peanut butter cups involved? Try chopping up a few extra peanut butter cups and scattering them over the chocolate drizzle before it sets. It adds another burst of peanut butter cup goodness and makes it look even more impressive. It’s a fantastic little addition for those “peanut butter cup dessert ideas” you might have swirling around! You might also like these cake mix cookies recipes hacks for more easy dessert inspiration.
Frequently Asked Questions about Peanut Butter Cup Icebox Cake
Got questions about this dreamy dessert? I’ve got answers! It’s always good to know the little details when you’re whipping up something delicious.
Can I make the Peanut Butter Cup Icebox Cake ahead of time?
Oh, absolutely! This is one of my favorite things about this cake – it’s a total lifesaver for parties. It’s actually *better* if you make it the day before. It gives all those flavors time to really mingle and the cake a chance to firm up perfectly. It’s the ultimate make-ahead party dessert!
What kind of cookies work best for this easy icebox cake recipe?
I love using chocolate sandwich cookies like Oreos because they have that bit of chocolatey richness and a nice crumb. But you can totally switch it up! Graham crackers are a classic choice for icebox cakes and work wonderfully here too. They give a slightly different, lighter flavor profile, but it’s still delicious. This recipe is pretty forgiving, so it’s a great easy icebox cake recipe no matter what cookie you choose!
How long does the Peanut Butter Cup Icebox Cake need to chill?
The chilling time is super important for this no-bake wonder! You need to let it chill for at least 4 hours to get nice and firm. I usually leave mine in the fridge overnight. This helps everything set properly so you get clean slices, and the flavors really deepen up. Patience is key here!
Can I substitute the peanut butter?
You sure can! While peanut butter is the star, if you have allergies or just want to try something different, almond butter or even cashew butter would work well in this peanut butter chocolate icebox cake. Just make sure it’s a creamy variety so it blends smoothly into the filling and topping. For more dessert ideas, check out these easy cake recipes.
Understanding the Nutritional Aspects of Your Peanut Butter Cup Icebox Cake
Just a friendly heads-up, the nutritional details you might see for this delightful Peanut Butter Cup Icebox Cake are estimates. They can change a bit depending on the exact brands of ingredients you use, like the type of cookies or peanut butter. It’s all part of the fun of home baking! For more delicious recipes, you might want to explore our recipes section.
Print
Peanut Butter Cup Icebox Cake: 4 Hr Chill
A no-bake dessert featuring layers of creamy peanut butter, chocolate, and crushed cookies, perfect for any occasion.
- Total Time: 4 hours 30 minutes
- Yield: 8 servings 1x
Ingredients
- 24 chocolate sandwich cookies
- 1 cup peanut butter
- 1/2 cup unsalted butter, melted
- 1 (8 ounce) package cream cheese, softened
- 1 cup powdered sugar
- 1 teaspoon vanilla extract
- 2 cups heavy whipping cream
- 1/2 cup creamy peanut butter
- 1/2 cup powdered sugar
- 1 teaspoon vanilla extract
- 8 ounces semi-sweet chocolate, chopped
- 1/4 cup creamy peanut butter
Instructions
- Line an 8×8 inch baking dish with parchment paper.
- Crush the chocolate sandwich cookies into fine crumbs. Mix the cookie crumbs with the melted butter and press evenly into the bottom of the prepared baking dish.
- In a medium bowl, beat the softened cream cheese until smooth. Add powdered sugar and vanilla extract, and beat until well combined.
- In a separate bowl, whip the heavy cream until stiff peaks form. Gently fold the whipped cream into the cream cheese mixture until just combined.
- Spread half of the peanut butter mixture evenly over the cookie crust.
- Layer half of the remaining peanut butter filling over the cream cheese layer.
- Repeat the layers with the remaining cream cheese mixture and peanut butter filling.
- Melt the chopped chocolate and 1/4 cup peanut butter together until smooth. Drizzle over the top layer.
- Chill for at least 4 hours, or until firm.
Notes
- For a richer chocolate flavor, use dark chocolate.
- You can substitute graham crackers for chocolate sandwich cookies.
- Add chopped peanut butter cups as a topping for extra indulgence.
- Prep Time: 20 minutes
- Cook Time: 10 minutes (for melting chocolate)
- Category: Dessert
- Method: No-Bake
- Cuisine: American
- Diet: Vegetarian
Nutrition
- Serving Size: 1 slice
- Calories: 450
- Sugar: 30g
- Sodium: 200mg
- Fat: 30g
- Saturated Fat: 15g
- Unsaturated Fat: 15g
- Trans Fat: 0g
- Carbohydrates: 40g
- Fiber: 2g
- Protein: 8g
- Cholesterol: 60mg


