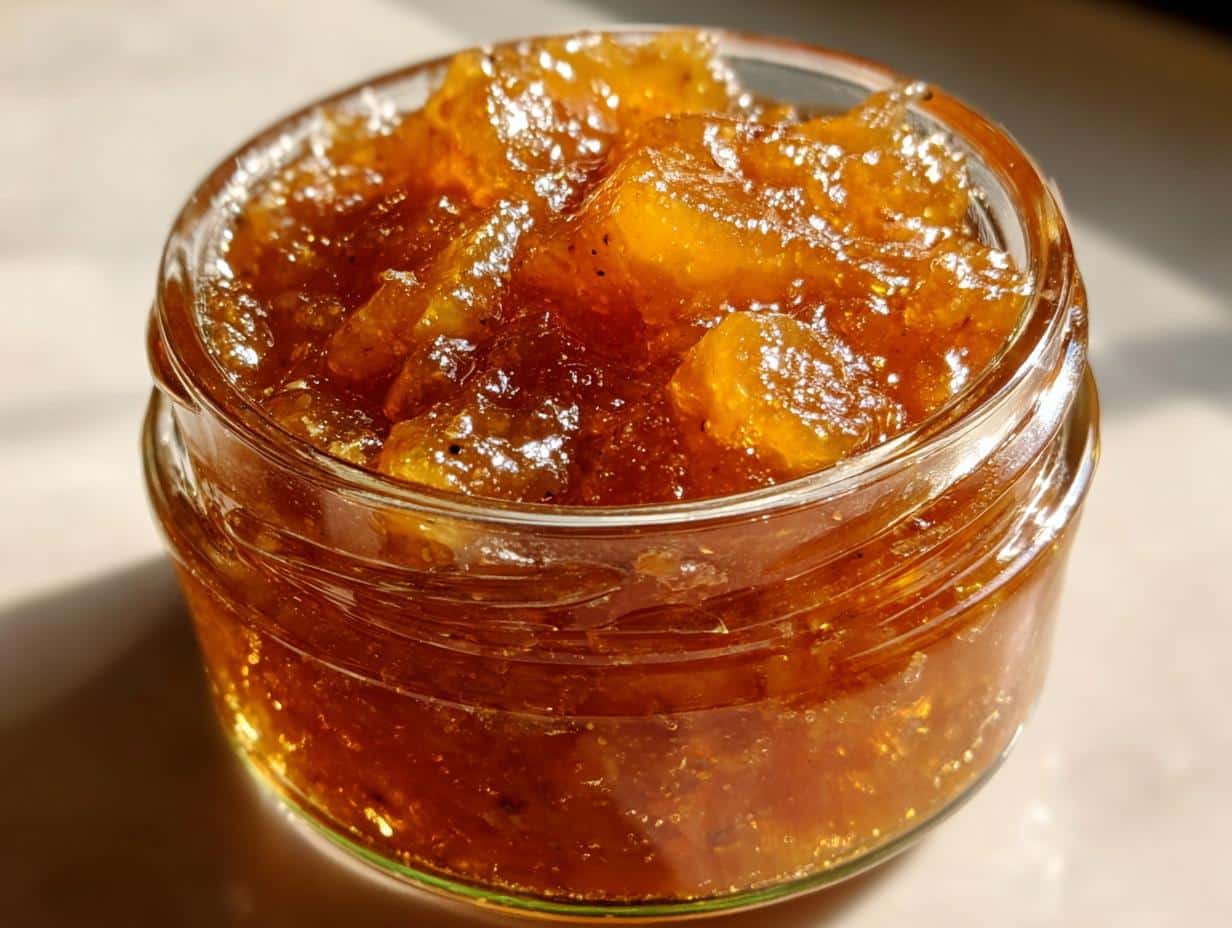
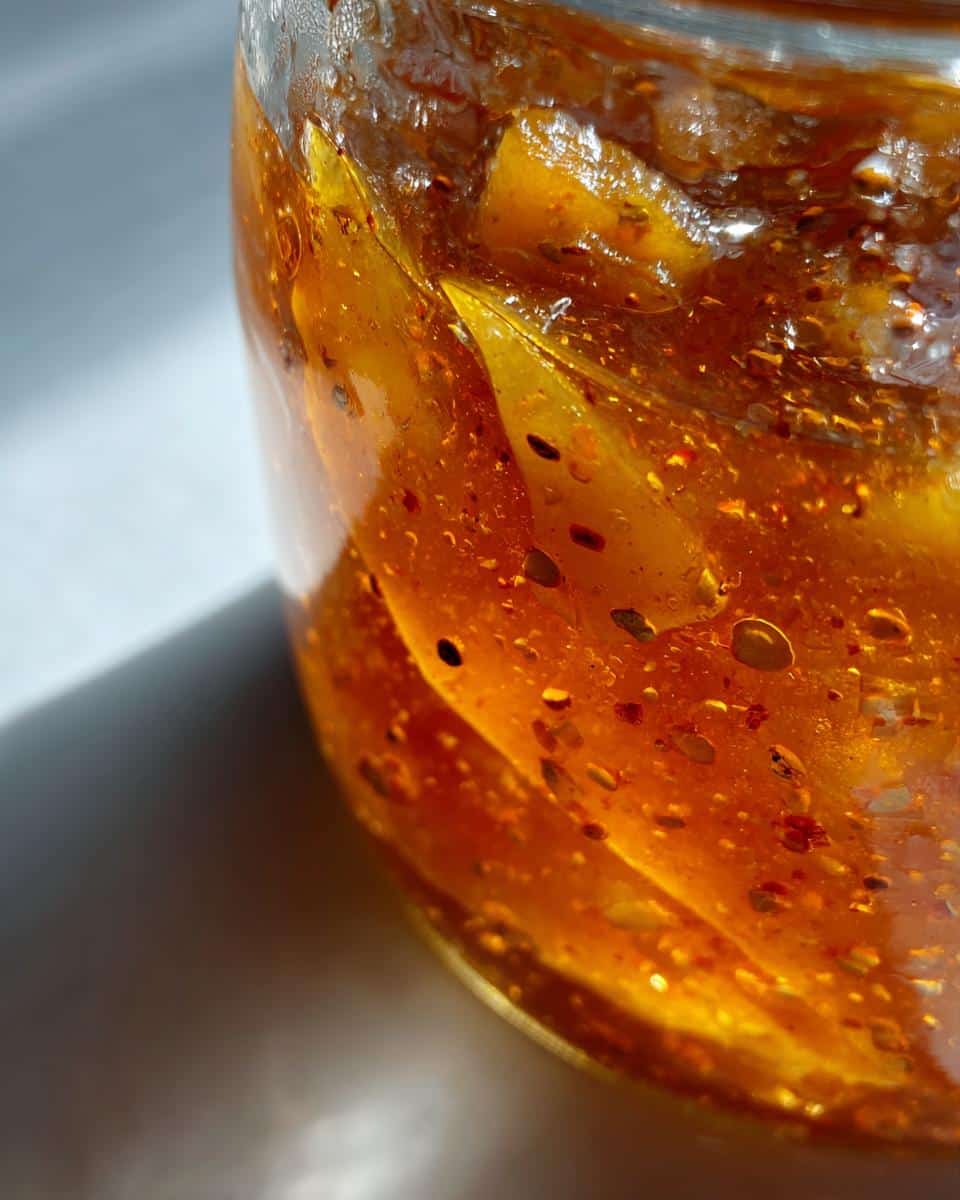
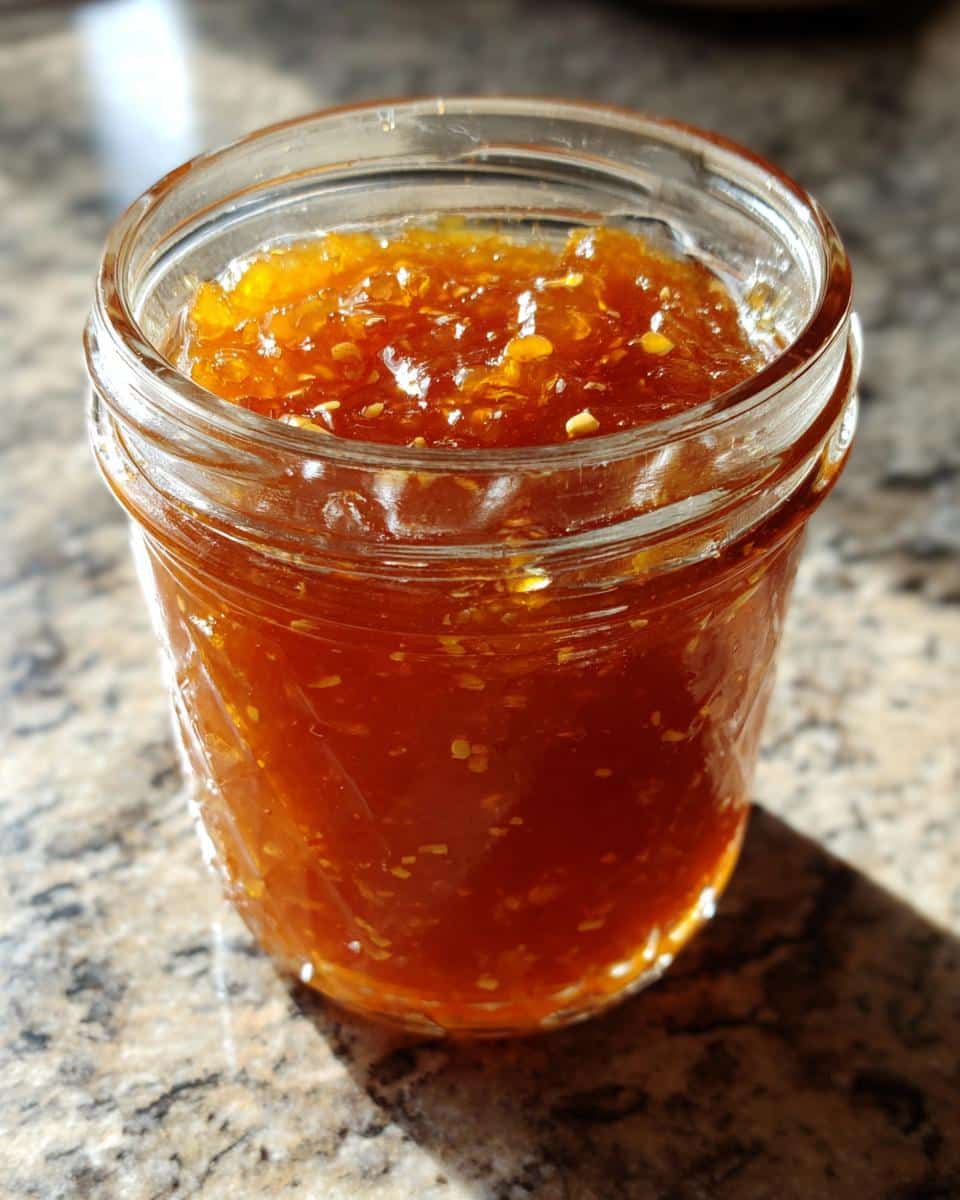
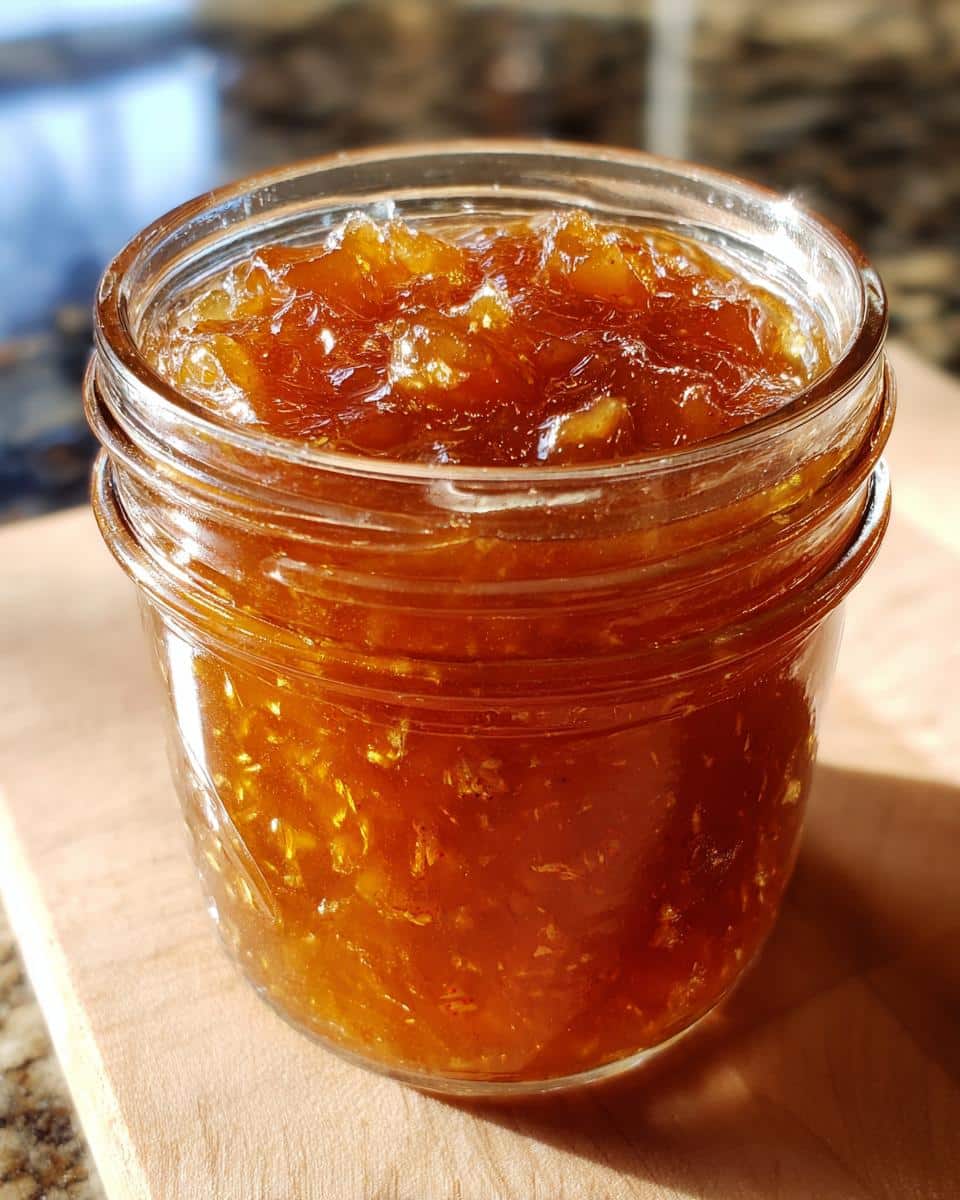
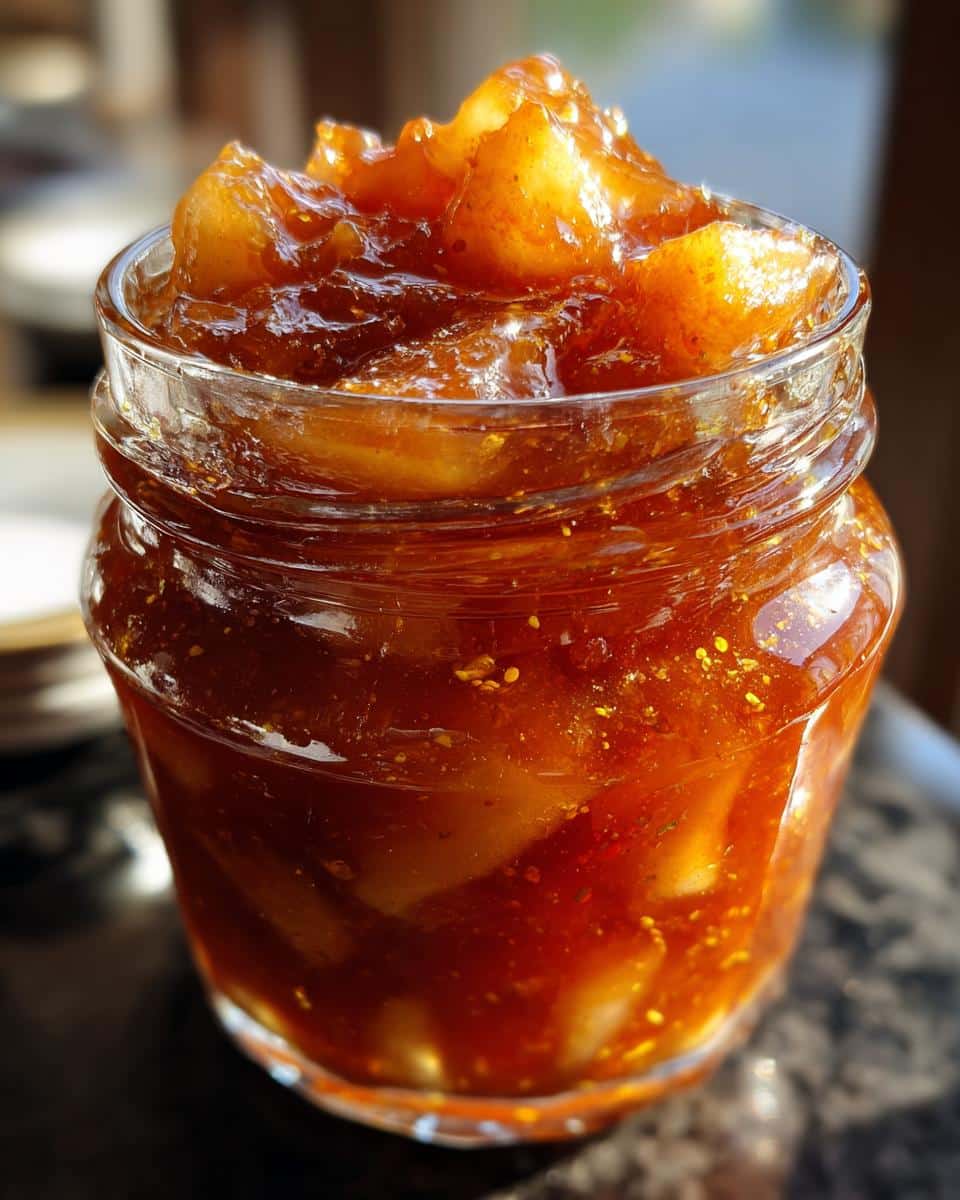
There’s just something about the smell of fruit bubbling away on the stove, isn’t there? It fills the whole house with this warm, inviting feeling, and that’s exactly what happens when I make these sweet pear preserves. Coming from Galway, I always loved how my granny could make the simplest things feel so special, so comforting. This recipe is my little nod to that – it’s incredibly easy, uses those lovely seasonal pears, and brings a bit of that gentle Irish home-cooking vibe right to your kitchen. You’ll find these preserves are pure comfort in a jar!
Why You’ll Love These Sweet Pear Preserves
These sweet pear preserves are a winner for so many reasons! They’re:
- Super Easy to Make: Seriously, you don’t need to be a canning expert to get fantastic results.
- Bursting with Flavor: The natural sweetness of the pears really shines through, with just a hint of spice if you like.
- Perfect for Any Season: Capture the taste of fresh pears to enjoy year-round.
- Wonderful for Gifting: Jars of homemade preserves make the most thoughtful presents!
- Incredibly Versatile: They’re delicious on toast, with cheese, or as a sweet topping for almost anything.
Gather Your Ingredients for Sweet Pear Preserves
Alright, let’s get our ingredients ready! For these delicious sweet pear preserves, you’ll need about 4 pounds of ripe pears. Make sure they’re peeled, cored, and then chopped up – I like to get them into roughly bite-sized pieces. You’ll also need 3 cups of granulated sugar to get that perfect sweet balance, and 1/4 cup of lemon juice. The lemon juice isn’t just for flavor; it helps with the preserving process too! If you fancy a bit of warmth, you can toss in a cinnamon stick and a couple of whole cloves. These are totally optional, but they do add a lovely cozy touch, especially if you’re thinking about making spiced pear preserves.
Pear Selection for Perfect Sweet Pear Preserves
Choosing the right pears makes all the difference. You want them ripe, but still firm to the touch – not mushy at all! Varieties like Bartlett or Bosc work wonderfully. They have a lovely flavor and hold their shape just enough in the preserves, giving you a nice texture without turning into complete mush.
Sweeteners and Flavor Enhancers for Sweet Pear Preserves
The 3 cups of sugar might seem like a lot, but remember, sugar is key for preserving and getting that lovely thick consistency. It also balances the natural tartness of the pears. The lemon juice is there to brighten everything up and also helps the preserves set properly. If you want to go the extra mile for some spiced pear preserves, a pinch of nutmeg or even a slice of fresh ginger alongside the cinnamon and cloves can be amazing!
How to Make Sweet Pear Preserves: A Step-by-Step Guide
Alright, let’s get cooking! Making these sweet pear preserves is a bit of a process, but trust me, it’s so worth it. It’s like a little bit of magic happening right on your stovetop. Just follow these steps, and you’ll have jars of pure sunshine ready to go.
Preparing the Pear Mixture
First things first, grab your big, sturdy pot. Toss in your chopped pears, the sugar, and that lemon juice. If you’re adding the cinnamon stick and cloves, pop those in now too. Give it all a good stir, then just let it sit for about 10 to 15 minutes. You’ll see the sugar start to pull out some lovely juice from the pears – it’s like they’re getting ready for their big moment!
Simmering and Thickening the Sweet Pear Preserves
Now, put that pot over medium-high heat. Bring it all up to a boil, giving it a stir now and then. Once it’s boiling, turn the heat down to medium-low. This is where the magic really happens – you’re going to simmer it, stirring pretty often, until it thickens up. This can take a while, anywhere from 45 minutes to an hour and a half, depending on how juicy your pears are. Keep an eye out for any foam that floats to the top; just skim that off with a spoon. You’re looking for it to get nice and syrupy.
Testing for Perfect Sweet Pear Preserves
You’ll know they’re ready when you do the plate test. Pop a little spoonful of the preserves onto a chilled plate – I usually keep a plate in the freezer just for this. After a minute, give it a gentle push with your finger. If it wrinkles up a bit, then they’re perfect and ready to go!
Canning Your Sweet Pear Preserves Safely
Once they’re thickened and pass the plate test, carefully remove your cinnamon stick and cloves if you used them. Ladle the hot preserves into your clean, sterilized jars. Make sure you leave about a quarter-inch of space at the top, called headspace. Wipe the rims of the jars really well – no sticky bits allowed! Then, pop on the lids and screw them tight. Now, you’ll process these in a boiling water bath. Follow your canner’s instructions, but usually, for pint jars, it’s about 10 minutes. After they come out, let them cool completely on the counter. You’ll hear little pings as the lids seal – that’s the sound of success!
Tips for Sweet Pear Preserves Success
Making these sweet pear preserves is pretty straightforward, but a few little things can really guarantee success. First off, make sure all your jars and lids are super clean and sterilized properly – this is crucial for safe canning! Don’t skip that step. You can adjust the sugar a bit, but remember it does help with the preserving and thickening, so don’t go too low. If your pears seem less juicy than expected, you might need to simmer them a little longer. And if they seem a bit too thick, a tiny splash of water or lemon juice can help loosen them up when you reheat them for jarring. It’s all about the little adjustments when you’re learning how to make pear preserves!
Creative Ways to Enjoy Your Sweet Pear Preserves
Honestly, these sweet pear preserves are so versatile, they’ll become a staple in your kitchen! Of course, they’re absolutely divine spread thick on warm toast or a buttery scone – pure comfort food right there. But don’t stop there! They’re also fantastic dolloped onto a cheese board; that sweet pear flavor pairs wonderfully with sharp cheddars or creamy brie. I also love swirling them into yogurt or oatmeal for a sweet breakfast boost, or even using them as a topping for ice cream or a simple vanilla cake. They really do elevate so many dishes!
Sweet Pear Preserves as Gifts
Thinking about pear preserves gift ideas? You absolutely should! These homemade jars are such a lovely, personal gift. Just tie a pretty ribbon around the lid, maybe add a little handwritten tag with the ingredients or a serving suggestion. They’re perfect for hostess gifts, a little something for a neighbor, or just to show someone you care. Everyone appreciates a beautiful jar of homemade goodness!
Frequently Asked Questions about Sweet Pear Preserves
Got questions about whipping up these sweet pear preserves? I’m happy to help! A common query is about pear ripeness – you really want them ripe but still firm; mushy pears won’t give you the best texture. You can absolutely adjust the sugar, but remember that sugar acts as a preservative, so don’t reduce it too much or they might not last as long. If you’re keen on spiced pear preserves, feel free to experiment with a pinch of nutmeg or a bit of fresh ginger alongside the cinnamon and cloves! When it comes to storage, once the jars are properly processed and sealed, they’ll keep in a cool, dark place for about a year. After opening, just pop them in the fridge, and they’ll be delicious for a few weeks. It’s all about learning how to make pear preserves that work for you!
Nutritional Information for Sweet Pear Preserves
Just a quick note on the nutrition! The values you see for these sweet pear preserves are estimates, as they can change a bit depending on the exact ripeness of your pears and the specific brands of sugar and other ingredients you use. It’s all part of the wonderful variability of home cooking!
Print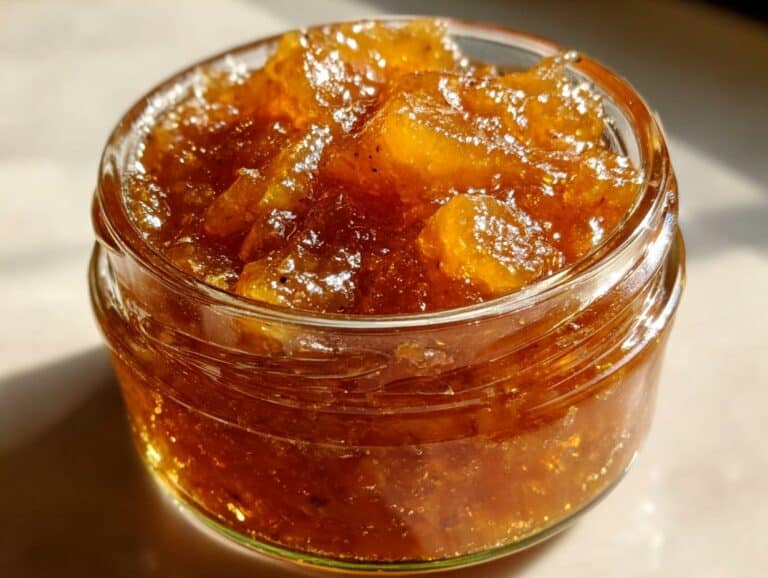
Sweet Pear Preserves: 1 Jar Comfort Bliss
A simple and delicious recipe for sweet pear preserves, perfect for canning and enjoying throughout the year. These preserves capture the natural sweetness of pears and can be used on toast, with cheese, or as a dessert topping.
- Total Time: 1 hour 35 minutes
- Yield: Approximately 4-5 pint jars 1x
Ingredients
- 4 pounds ripe pears (like Bartlett or Bosc), peeled, cored, and chopped
- 3 cups granulated sugar
- 1/4 cup lemon juice
- 1 cinnamon stick (optional)
- 2 whole cloves (optional)
Instructions
- Combine chopped pears, sugar, and lemon juice in a large pot. If using, add the cinnamon stick and cloves.
- Let the mixture sit for about 10-15 minutes to allow the sugar to draw out some of the pear juice.
- Place the pot over medium-high heat and bring to a boil, stirring occasionally.
- Reduce heat to medium-low and simmer, stirring frequently, until the preserves have thickened. This can take anywhere from 45 minutes to 1.5 hours, depending on the juiciness of the pears. Skim off any foam that rises to the surface.
- To test for doneness, place a small spoonful of preserves onto a chilled plate. If it wrinkles when pushed, it is ready.
- Remove the cinnamon stick and cloves if used.
- Ladle the hot preserves into sterilized jars, leaving about 1/4 inch headspace.
- Wipe the rims of the jars clean and secure the lids.
- Process the jars in a boiling water bath according to your canner’s instructions for your altitude, typically 10 minutes for pints.
- Let the jars cool completely on a towel-lined counter. Check that lids have sealed before storing.
Notes
- Using ripe but firm pears will yield the best texture.
- Adjust sugar to your preference, but note that sugar acts as a preservative.
- For spiced pear preserves, add a pinch of nutmeg or a piece of ginger along with the cinnamon and cloves.
- Ensure your jars and lids are properly sterilized for safe canning.
- Prep Time: 20 minutes
- Cook Time: 1 hour 15 minutes
- Category: Preserves
- Method: Stovetop Canning
- Cuisine: Irish-inspired
- Diet: Vegetarian
Nutrition
- Serving Size: 2 tablespoons
- Calories: 70
- Sugar: 17g
- Sodium: 0mg
- Fat: 0g
- Saturated Fat: 0g
- Unsaturated Fat: 0g
- Trans Fat: 0g
- Carbohydrates: 18g
- Fiber: 0.5g
- Protein: 0g
- Cholesterol: 0mg
