 Skip to content
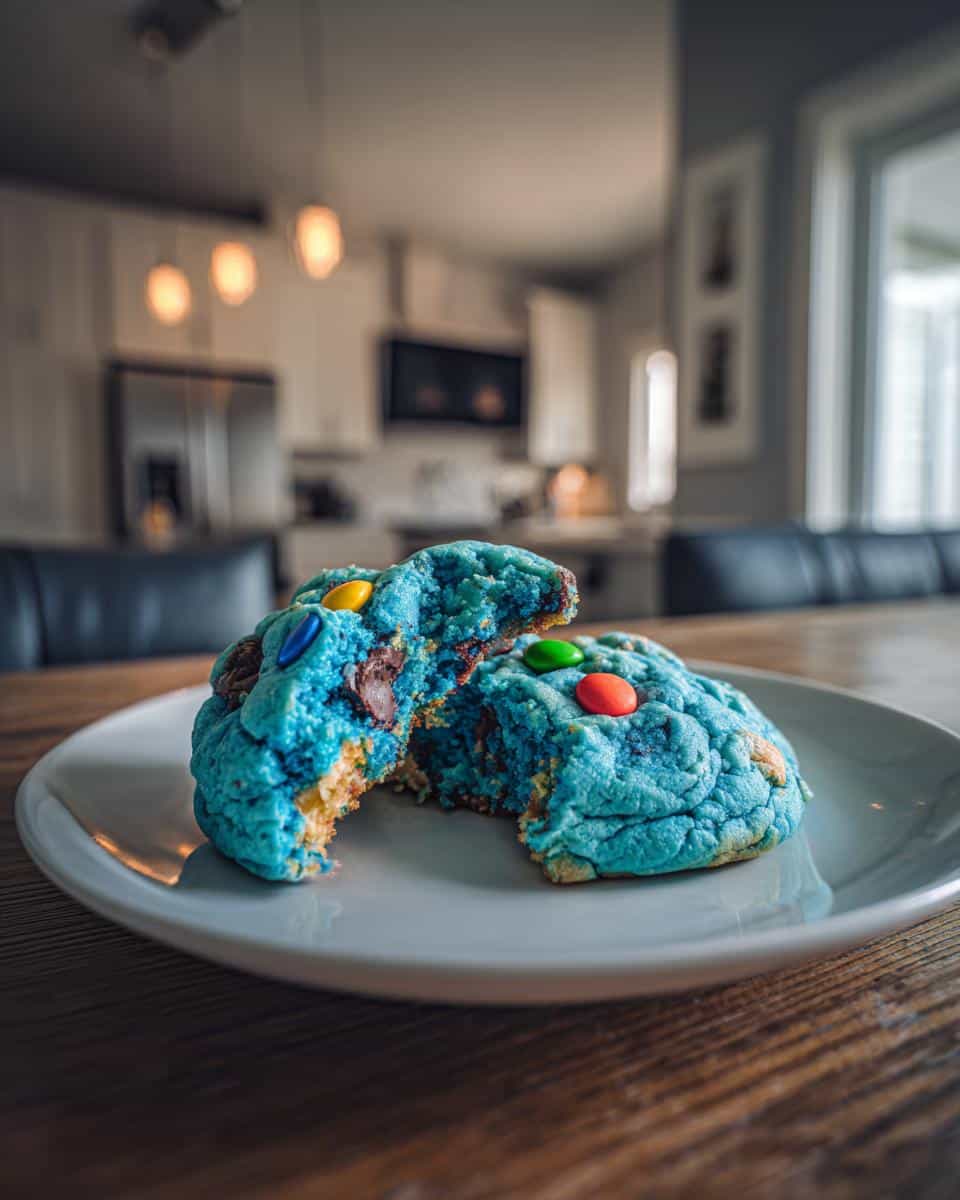
Okay, who else grew up wanting to swipe a cookie right off Cookie Monster’s plate? I know I did! There’s just something so fun about those bright blue, chocolate-studded treats. And that’s exactly what inspired these *Soft & Chewy Cookie Monster Cookies*! We’re talking bakery-level deliciousness, but without any of the fuss. This recipe is all about easy baking and maximum fun – the kind where even the littlest helpers can get involved (and make a bit of a delightful mess!).
Trust me, these aren’t just any chocolate chip cookies. They’re super soft, seriously chewy, and that vibrant blue color? Totally irresistible. Plus, they’re so simple to whip up, you’ll be making them for every birthday party, holiday, or just because it’s Tuesday (we don’t judge!).
Now, a bit about me! I’m Riley Thompson, and baking has been my happy place since I was a kiddo, watching my granny in her Galway kitchen. I’ve spent years perfecting easy, comforting recipes, and these Cookie Monster Cookies are no exception. Get ready for some serious cookie magic!
Why You’ll Love These Soft & Chewy Cookie Monster Cookies
Reasons to Bake These Soft & Chewy Cookie Monster Cookies
Fun for All Ages
Seriously, who can resist a bright blue cookie? Kids *love* helping measure, mix, and especially add the chocolate chips. It’s a great way to get them involved in the kitchen (and maybe sneak in a little math practice!).
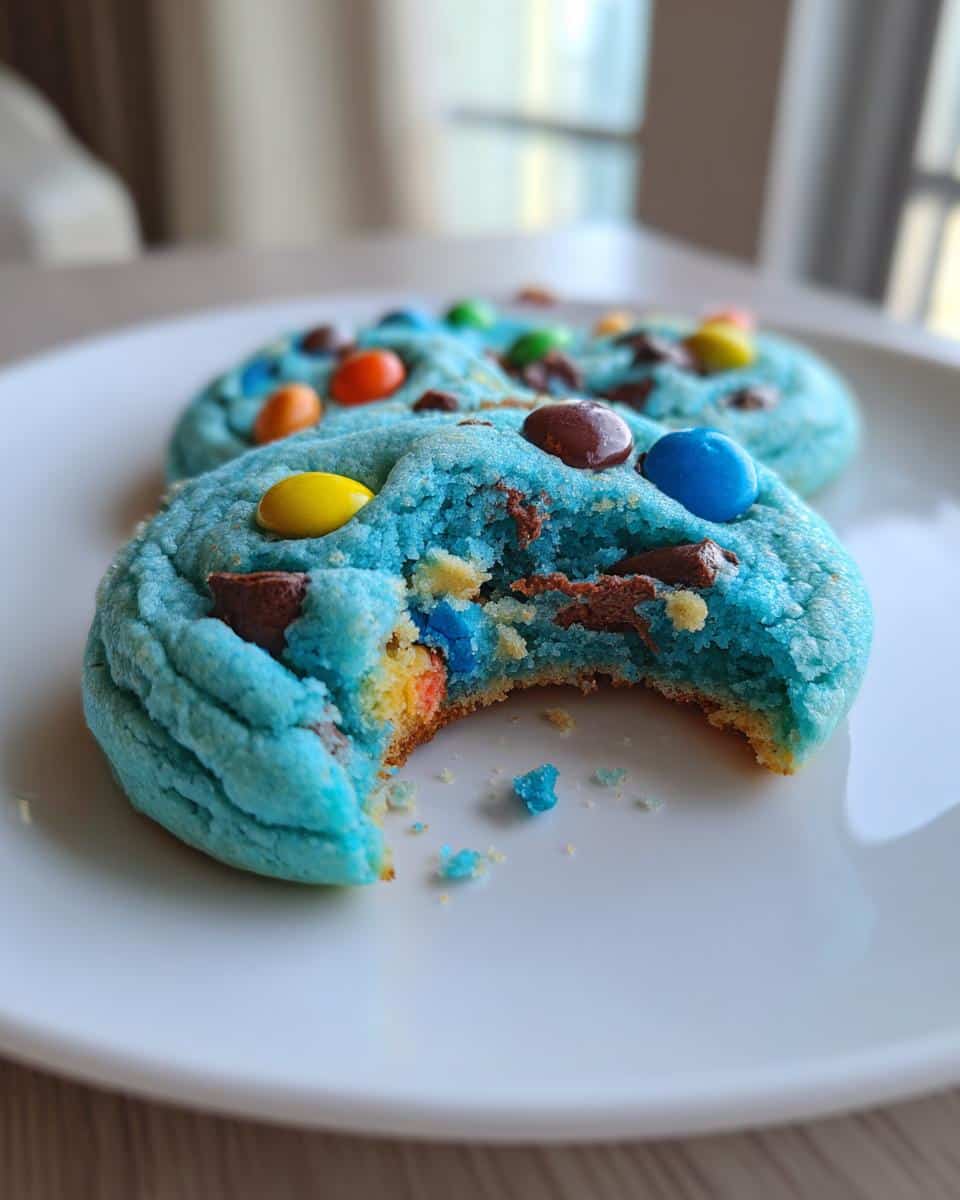
Irresistibly Soft and Chewy
Let’s be real, nobody wants a crunchy, dry cookie. These are perfectly soft in the middle with just a little chewiness around the edges. The texture is just… wow!
Perfect for Parties and Celebrations
Want to be the star baker at your next party? These Cookie Monster Cookies are total showstoppers. They’re unique, fun, and guaranteed to disappear fast. Plus, they fit almost any theme! Check out some Thanksgiving appetizer ideas for more party inspiration.
Ingredients for Soft & Chewy Cookie Monster Cookies
Alright, let’s gather our goodies! Here’s what you’ll need to make these amazing cookies. Don’t worry, it’s mostly stuff you probably already have. And trust me, it’s worth it!
- 2 1/4 cups all-purpose flour. (Make sure it’s spooned and leveled, not packed!)
- 1 cup (2 sticks) unsalted butter, softened. (Seriously, *softened*. Not melted!)
- 1 cup packed brown sugar. (Light or dark, your call! I usually go with light.)
- 1/2 cup granulated sugar. (For that perfect touch of sweetness.)
- 2 large eggs. (Room temperature is best, but don’t stress if they’re not!)
- 1 teaspoon vanilla extract. (Adds that little something special.)
- 1 teaspoon baking soda. (Helps ’em get nice and puffy!)
- 1/2 teaspoon salt. (Balances the sweetness perfectly.)
- 1 cup chocolate chips. (Semi-sweet or milk chocolate, whatever makes you happy!)
- Blue food coloring gel. (Gel is better than liquid – you get a more vibrant color!)
- 1 cup mini chocolate chips or colorful sprinkles. (For that signature Cookie Monster look!)
How to Make Soft & Chewy Cookie Monster Cookies: Step-by-Step Instructions
Alright, let’s get baking! Follow these steps, and you’ll have a batch of irresistible Cookie Monster Cookies in no time. Don’t worry if you’re not a pro – I’ll walk you through it!
Getting Started: Dough Preparation
First things first, let’s make that dough! In a large bowl, cream together the softened butter, brown sugar, and granulated sugar until it’s light and fluffy. This usually takes about 3-5 minutes with an electric mixer. You want it to look like whipped frosting – yum!
Next, beat in the eggs one at a time, then stir in the vanilla extract. In a separate bowl, whisk together the flour, baking soda, and salt. Now, gradually add the dry ingredients to the wet ingredients, mixing until *just* combined. Don’t overmix! Overmixing leads to tough cookies, and nobody wants that.
Achieving the Blue Hue: Coloring the Dough
Okay, time for the fun part! This is where we turn our dough into Cookie Monster blue. Add a few drops of blue food coloring gel to the dough. Start with a little, and then add more until you reach your desired shade of blue. Remember, a little gel goes a long way!
Gently fold the food coloring into the dough until it’s evenly distributed. Be careful not to overmix at this stage either. We just want that color blended in nicely.
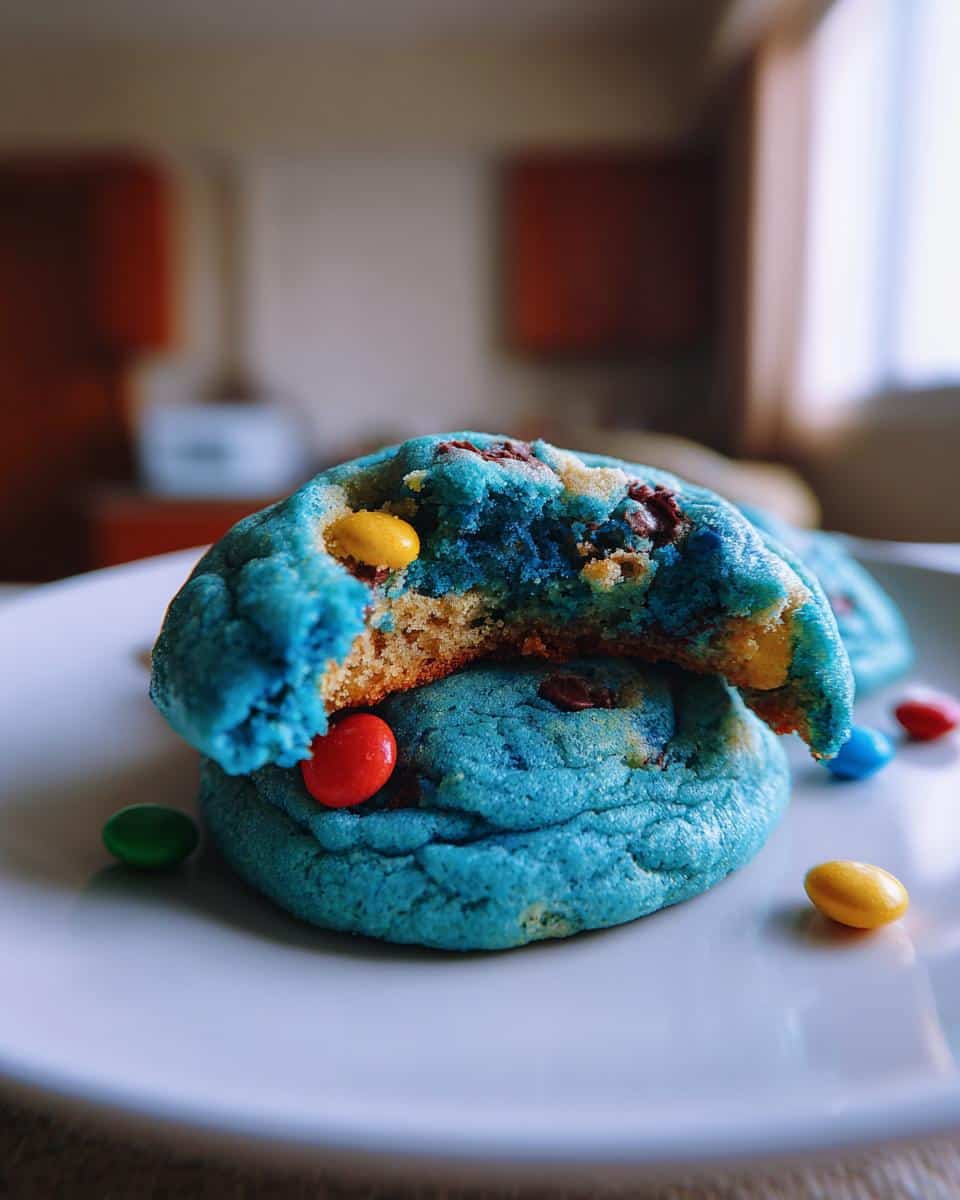
Adding the Chocolate Chips: The Monster Touch
Now for the best part – the chocolate chips! Gently fold in the chocolate chips (the regular-sized ones) and the mini chocolate chips or sprinkles. Make sure they’re evenly distributed throughout the dough. This is what gives our cookies that classic Cookie Monster look!
Cover the dough and chill it in the refrigerator for at least 30 minutes. This helps prevent the cookies from spreading too much while baking. Trust me, it’s worth the wait!
Baking Your Soft & Chewy Cookie Monster Cookies
Preheat your oven to 375°F (190°C). Line a baking sheet with parchment paper. This prevents sticking and makes cleanup a breeze! Drop rounded tablespoons of cookie dough onto the prepared baking sheet, leaving a little space between each cookie.
Bake for 8-10 minutes, or until the edges are golden brown and the centers are still slightly soft. Don’t overbake! Overbaked cookies are sad cookies. Keep a close eye on them!
Cooling and Decorating: The Final Flourish
Let the cookies cool on the baking sheet for a few minutes before transferring them to a wire rack to cool completely. Now, if you *really* want to get fancy (and who doesn’t?), you can add some extra sprinkles or a little dollop of blue frosting to make them even more Cookie Monster-ish. But honestly, they’re pretty amazing just as they are!
Tips for Making the Best Soft & Chewy Cookie Monster Cookies
Ingredient Temperature Matters
Okay, this is a big one! Make sure your butter is *actually* softened. Like, you can easily press a finger into it, but it’s not melted. And those eggs? Room temperature is your friend. It helps everything mix together evenly. Trust me, it makes a difference! For more baking tips, check out these cake mix cookie hacks.
Don’t Overmix the Dough
Seriously, I can’t stress this enough. Overmixing develops the gluten in the flour, and that leads to tough cookies. Mix until *just* combined. A few streaks of flour are okay! It’s better to under-mix than over-mix.
Watch the Baking Time Closely
These cookies bake fast! Keep a close eye on them, especially towards the end. You want the edges to be golden brown, but the centers should still be slightly soft. If you overbake them, they’ll be crunchy, not chewy. And we want chewy!
Ingredient Notes and Substitutions for Your Soft & Chewy Cookie Monster Cookies
Flour Options
I usually stick with all-purpose flour for these, but if you’re gluten-free, no worries! Just swap it out for your favorite gluten-free blend. I’ve had good luck with Bob’s Red Mill – just make sure it’s a 1:1 replacement! You might also like this gluten-free cornbread recipe.
Sugar Variations
The brown sugar is what gives these cookies that extra chewy texture, so I wouldn’t skip it! But if you’re out of granulated sugar, you could use coconut sugar or even a little extra brown sugar in a pinch. Just don’t go overboard!
Food Coloring Alternatives
Okay, the blue food coloring is kinda the whole point of these, right? But if you’re avoiding artificial colors, try using natural blue food coloring made from spirulina. It might not be *quite* as vibrant, but it’s a great option! You can learn more about natural food coloring alternatives here.
FAQ About Soft & Chewy Cookie Monster Cookies
Can I make these cookies ahead of time?
You bet! The dough actually benefits from chilling in the fridge. You can make the dough up to 24 hours in advance. Just wrap it tightly in plastic wrap. When you’re ready to bake, let it sit at room temperature for about 15 minutes to soften slightly.
How do I keep my cookies soft?
Store your *Soft & Chewy Cookie Monster Cookies* in an airtight container at room temperature. Adding a slice of bread to the container can also help keep them soft! Who knew, right?
Can I freeze these cookies?
Yep! You can freeze the baked cookies for up to 2 months. Just let them cool completely, then store them in a freezer-safe bag or container. You can also freeze the unbaked dough! Just scoop the dough into balls, freeze them on a baking sheet, and then transfer them to a freezer bag.
What if I don’t have blue food coloring?
No blue food coloring? No problem! You can use another color (pink monster cookies, anyone?). Or, just leave them plain! They’ll still taste amazing, even without the vibrant hue!
Storing Your Delicious Soft & Chewy Cookie Monster Cookies
Best Practices for Cookie Storage
Want to keep those cookies soft and chewy for days? (If they even last that long!) The secret is an airtight container. Pop ’em in there as soon as they’re cool, and they’ll stay perfect for up to 3 days. My favorite trick? Toss in a slice of sandwich bread – it keeps ’em extra moist!
Nutritional Information for Soft & Chewy Cookie Monster Cookies
Alright, let’s talk numbers! But hey, before we dive in, a quick note: These are estimates! The exact nutritional info can vary depending on the brands you use and how big you make your cookies. So, take this with a grain of salt (or maybe a sprinkle of sugar!). I can’t guarantee these are spot-on, just a general idea!
Enjoyed These Soft & Chewy Cookie Monster Cookies? Leave a Review!
Made these and loved them? I wanna hear all about it! Leave a comment, give the recipe a rating, and share your pics on social media! Happy baking!
Print
Soft & Chewy Cookie Monster Cookies: Failproof Recipe
These mini pecan pies are bite-sized delights perfect for any occasion. They offer a sweet, nutty flavor with a classic pecan pie filling in a convenient, individual serving size.
- Total Time: 40 minutes
- Yield: 24 mini pies 1x
Ingredients
- 1 package refrigerated pie crusts
- 1 cup chopped pecans
- 1/2 cup butter, melted
- 1 cup corn syrup
- 1 cup packed brown sugar
- 3 large eggs
- 1 teaspoon vanilla extract
- 1/4 teaspoon salt
Instructions
- Preheat your oven to 350°F (175°C).
- Unroll the pie crusts and use a round cookie cutter or glass to cut out circles that fit into your mini muffin tin cups. Press the circles into the cups.
- In a medium bowl, combine the chopped pecans, melted butter, corn syrup, brown sugar, eggs, vanilla extract, and salt. Mix until well combined.
- Spoon the pecan pie filling evenly into the prepared pie crusts in the muffin tin.
- Bake for 20-25 minutes, or until the filling is set and the crust is golden brown.
- Let the mini pecan pies cool in the muffin tin for a few minutes before carefully removing them to a wire rack to cool completely.
Notes
- For a richer flavor, you can add a pinch of cinnamon or nutmeg to the filling.
- If you don’t have a mini muffin tin, you can use a regular muffin tin and adjust the baking time.
- These pies can be stored in an airtight container at room temperature for up to 3 days.
- Prep Time: 15 minutes
- Cook Time: 25 minutes
- Category: Desserts
- Method: Baking
- Cuisine: American
- Diet: Vegetarian
Nutrition
- Serving Size: 1 mini pie
- Calories: 180
- Sugar: 15g
- Sodium: 80mg
- Fat: 10g
- Saturated Fat: 3g
- Unsaturated Fat: 7g
- Trans Fat: 0g
- Carbohydrates: 20g
- Fiber: 1g
- Protein: 2g
- Cholesterol: 20mg