 Skip to content
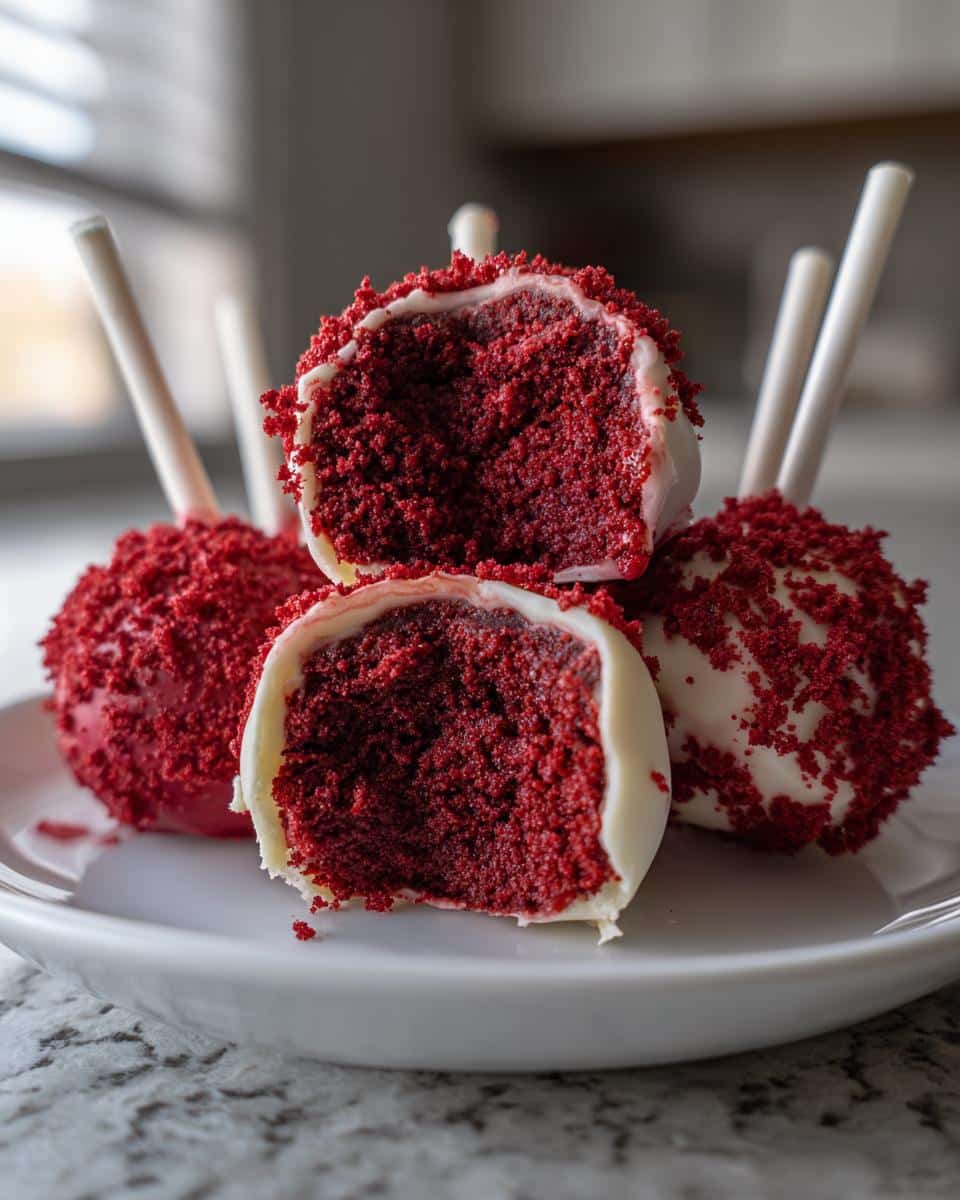
Okay, so Halloween’s comin’ up, and I’ve got this *amazing* idea! Or maybe you’re lookin’ for somethin’ super dramatic for Valentine’s? Either way, trust me, these Bloody Red Velvet Cake Pops are gonna be a total showstopper. We’re talkin’ seriously gorgeous, intensely red, and melt-in-your-mouth delicious.
Now, I know cake pops can seem a little fussy, right? But I promise, this recipe is all about easy elegance. We’re keepin’ it simple, so even if you’re new to cake pops (or bakin’ in general!), you can totally nail this. And you know me, I’m all about makin’ things easy and delicious! I mean, my granny always said, “Life’s too short for complicated desserts!” And these Bloody Red Velvet Cake Pops? They’re proof you don’t need a ton of fuss to make somethin’ truly special.
Why You’ll Love This Recipe
Easy to Make Bloody Red Velvet Cake Pops
Look, I get it. Cake pops *look* intimidating. But this recipe? It’s seriously straightforward. We’re talkin’ simple steps, easy-to-find ingredients, and no fancy techniques. Even if you’ve never made cake pops before, I promise you can totally rock these!
Visually Stunning Bloody Red Velvet Cake Pops
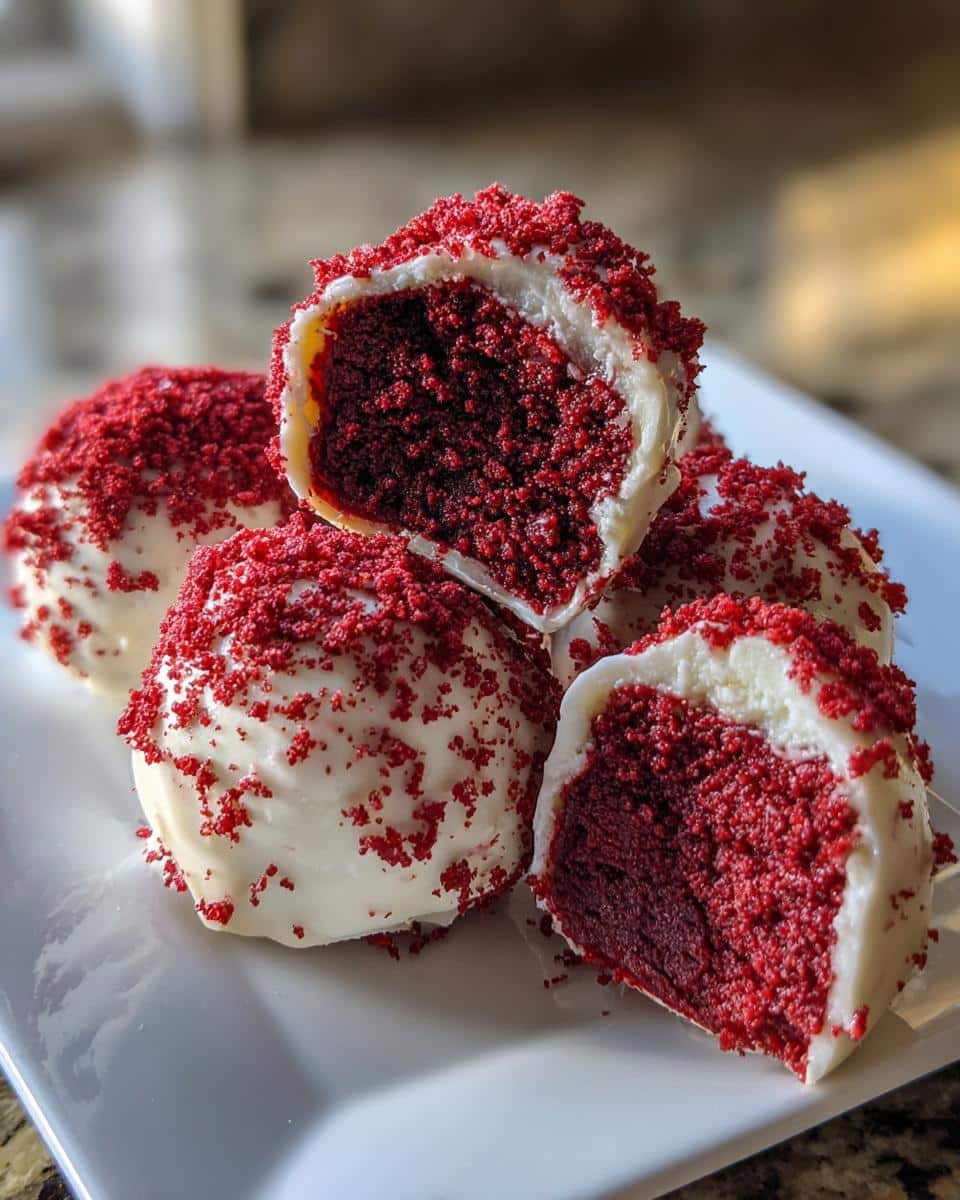
Okay, let’s be real, these aren’t just *any* cake pops. That deep, dramatic red? It’s a total showstopper! They’re gorgeous, eye-catching, and guaranteed to get everyone sayin’, “Wow!” My favorite part is seein’ the look on people’s faces when they see them!
Perfect for Halloween & Valentine’s
Whether you’re throwin’ a spooky Halloween bash or lookin’ for somethin’ extra special for Valentine’s Day, these cake pops are the perfect fit. They’re festive, fun, and just the right amount of dramatic. Plus, who doesn’t love a good red velvet treat?
Ingredients for Bloody Red Velvet Cake Pops
Alright, let’s gather our goodies! Here’s what you’ll need to whip up these amazing Bloody Red Velvet Cake Pops. Don’t worry, it’s not a huge list, and I’ll break it down into easy sections. Remember, quality ingredients make all the difference, so grab the best you can find!
Red Velvet Cake Ingredients
You can totally use a red velvet cake mix (it’s my little secret for quick baking!), or if you’re feelin’ ambitious, go for your favorite homemade recipe. Either way, you’ll need: the cake mix (plus oil and eggs as called for on the box), or the ingredients for your homemade cake, and definitely some red food coloring gel – trust me, gel gives you the *best* intense red!
Cream Cheese Frosting Ingredients
Okay, cream cheese frosting is a MUST with red velvet, right? You’ll need: 8 oz cream cheese (make sure it’s softened!), 1/2 cup (1 stick) unsalted butter (also softened!), about 3-4 cups of powdered sugar (you might need a bit more or less to get the right consistency), and a teaspoon of vanilla extract. Simple as that!
Coating and Decoration Ingredients for Bloody Red Velvet Cake Pops
This is where the fun really begins! For the coating, I usually go with candy melts – they’re easy to use and come in tons of colors. White or dark chocolate also works great! And for decorations? Sky’s the limit! Think sprinkles, edible glitter (because who doesn’t love glitter?), or even a drizzle of melted chocolate. Get creative!
How to Prepare Bloody Red Velvet Cake Pops: Step-by-Step Instructions
Alright, let’s get down to business! Here’s how we’re gonna make these show-stoppin’ Bloody Red Velvet Cake Pops. Don’t worry, I’ll walk you through every step of the way. Just follow along, and you’ll be amazed at what you can create!
Baking the Red Velvet Cake
First things first, you gotta bake that red velvet cake! If you’re using a mix, follow the box instructions, but don’t forget that red food coloring gel! If you’re makin’ it from scratch, bake it according to your recipe. Usually, it’s around 350°F (175°C) for about 30 minutes, but keep an eye on it! You want it cooked through but still nice and moist.
Making the Cake Pop Mixture
Okay, once your cake is completely cool (this is important!), crumble it up into a big bowl. Now, add your softened cream cheese frosting, a little at a time. You want the mixture to be moist enough to hold together, but not too wet. Trust me, you’ll know when it’s right! Just don’t overmix it, or your cake pops will be tough.
Shaping and Chilling the Bloody Red Velvet Cake Pops
Now comes the fun part! Roll the cake mixture into balls, about 1-inch in diameter. Place them on a parchment-lined baking sheet. Once they’re all rolled, pop them into the fridge (or freezer for a quicker chill) for at least 30 minutes. This is super important! Chilling helps them hold their shape when you dip them.
Dipping and Decorating
Time to make ’em pretty! Melt your candy melts (or chocolate) according to the package instructions. I usually use the microwave, but be careful not to burn it! Dip the tip of a lollipop stick into the melted coating and insert it into a chilled cake ball. Then, dip the whole cake pop into the coating, tap off any excess, and decorate with sprinkles, glitter, whatever your heart desires! Let them set completely before serving. Ta-da!
Tips for Perfect Bloody Red Velvet Cake Pops
Want to take your Bloody Red Velvet Cake Pops from good to *amazing*? I’ve got a few tricks up my sleeve that’ll help you nail it every time. These are the little things I’ve learned over the years that make all the difference, so listen up!
Achieving the Perfect Red Color
Okay, this is key! Gel food coloring is your best friend here. Liquid food coloring just won’t cut it – you’ll end up using a ton, and it can change the consistency of your batter. Also, don’t be afraid to add a little extra red! Sometimes the color fades slightly during baking, so a boost beforehand helps.
Preventing Cake Pops from Cracking
Cracked cake pops are a bummer, but super easy to avoid! The secret? Make sure those cake balls are *thoroughly* chilled before you dip them. And don’t dip frozen cake pops! The sudden change in temperature is what causes the cracking, so be patient and let them chill properly in the fridge.
Getting a Smooth Coating
Nobody wants lumpy, bumpy cake pops! The trick is to melt your coating slowly and stir it frequently. If you’re using the microwave, do it in short bursts (like 30 seconds), stirring in between. And when you dip, tap off the excess coating gently. You can even use a toothpick to smooth out any little imperfections. Easy peasy!
Ingredient Notes and Substitutions for Bloody Red Velvet Cake Pops
Let’s chat about some ingredient specifics and what you can swap if you’re in a pinch! Sometimes, you just don’t have *exactly* what the recipe calls for, and that’s totally okay. I’m all about makin’ it work with what you’ve got!
Food Coloring Options
Okay, so I’m a huge fan of gel food coloring ’cause it gives you that intense red without messin’ with the batter’s consistency. But if you only have liquid, that’s alright! Just use it sparingly. For a more natural option, beetroot powder can add a reddish hue, but it won’t be as vibrant. Just a heads-up!
Frosting Variations
While cream cheese frosting is classic with red velvet, don’t be afraid to experiment! Vanilla buttercream is always a winner, or even a chocolate ganache for extra decadence. You could even try a lemon buttercream for a tangy twist! Trust me, it’s delish!
Cake Mix Alternatives
Got dietary restrictions? No problem! Gluten-free cake mixes work great in this recipe. Just follow the box instructions and you’re good to go. You can also find vegan cake mixes if you’re avoiding eggs and dairy. Baking should be fun and inclusive, so use whatever works best for you!
FAQ About Bloody Red Velvet Cake Pops
Got questions about makin’ these gorgeous Bloody Red Velvet Cake Pops? Don’t worry, I’ve got answers! These are the questions I get asked *all* the time, so hopefully, this clears things up. Let’s dive in!
How do I get the cake pops to stick to the sticks?
Ah, the million-dollar question! Here’s the trick: dip the tip of your lollipop stick into the melted chocolate or candy melts *before* you insert it into the cake ball. That little bit of melted coating acts like glue and keeps everything nice and secure. Works like a charm!
Can I make these ahead of time?
Absolutely! In fact, I often recommend it. You can make the cake balls a day or two in advance and store them in the fridge. Just make sure they’re well-covered so they don’t dry out. Then, when you’re ready to dip and decorate, you’re already halfway there! Talk about easy!
What is the best way to melt the candy melts?
Okay, you’ve got a couple of options here. The microwave is super convenient, but you have to be careful not to burn the candy melts. Use short bursts (30 seconds), stirring in between. Or, you can use a double boiler for more even heating. Both work great, so it’s really up to you and what you’re comfortable with!
Storage & Reheating Instructions for Bloody Red Velvet Cake Pops
So, you’ve made these *amazing* Bloody Red Velvet Cake Pops… and maybe you even have some leftovers (lucky you!). Here’s how to keep ’em fresh and delicious, so you can enjoy them for days to come!
How to Store Cake Pops
The best way to store these little beauties is in an airtight container in the fridge. You can also freeze them! Just wrap each cake pop individually in plastic wrap, then place them in a freezer-safe bag or container. Easy peasy!
How Long Do Cake Pops Last?
In the fridge, your cake pops will stay fresh for about a week. If you freeze them, they’ll last for up to 2-3 months! Just let them thaw in the fridge before enjoying. Though, let’s be real, they probably won’t last *that* long, ’cause they’re just too darn good!
Nutritional Information Disclaimer
Just a quick note: nutritional info can vary *a lot* depending on the brands and ingredients you use. So, the numbers I’ve got aren’t exact, okay? Just a general idea!
Share Your Bloody Red Velvet Cake Pops Creations!
Okay, you guys, I seriously *cannot wait* to see your Bloody Red Velvet Cake Pops! Seriously! If you make these, please, please leave a comment below and let me know how they turned out. And don’t forget to rate the recipe! Your feedback helps other bakers, too!
And if you’re on social media, share a pic! Tag me – I’m @RileyThompsonBakes – so I can see your gorgeous creations. Honestly, connectin’ with you all and seein’ you try my recipes is the best part of this whole adventure. It’s like we’re bakin’ together, even when we’re miles apart!
Print
Unleash 24 Delicious Bloody Red Velvet Cake Pops
Enjoy these incredibly moist and flavorful pumpkin muffins, perfect for a cozy fall breakfast or a delightful snack. This recipe is straightforward, making it ideal for bakers of all levels.
- Total Time: 35 minutes
- Yield: 12 muffins 1x
Ingredients
- 2 cups all-purpose flour
- 1 teaspoon baking soda
- 1/2 teaspoon salt
- 1 teaspoon ground cinnamon
- 1/2 teaspoon ground nutmeg
- 1/4 teaspoon ground cloves
- 1/4 teaspoon ground ginger
- 1 1/2 cups granulated sugar
- 2 large eggs
- 1 cup pumpkin puree (not pie filling)
- 1/2 cup vegetable oil
- 1/4 cup milk
- 1 teaspoon vanilla extract
- Optional: 1 cup chocolate chips or chopped nuts
Instructions
- Preheat your oven to 375°F (190°C). Line a muffin tin with paper liners or grease it well.
- In a large bowl, whisk together the flour, baking soda, salt, cinnamon, nutmeg, cloves, and ginger.
- In a separate bowl, whisk together the sugar, eggs, pumpkin puree, vegetable oil, milk, and vanilla extract until well combined.
- Pour the wet ingredients into the dry ingredients and stir until just combined. Do not overmix.
- If using, gently fold in the chocolate chips or nuts.
- Spoon the batter evenly into the prepared muffin cups, filling each about two-thirds full.
- Bake for 18-22 minutes, or until a toothpick inserted into the center of a muffin comes out clean.
- Let the muffins cool in the tin for a few minutes before transferring them to a wire rack to cool completely.
Notes
- Ensure you use pumpkin puree, not pumpkin pie filling, for the best flavor.
- For extra moist muffins, you can add a tablespoon of sour cream or Greek yogurt to the batter.
- These muffins freeze well. Store them in an airtight container for up to 3 months.
- For a bakery-style look, you can sprinkle a little coarse sugar on top before baking.
- Prep Time: 15 minutes
- Cook Time: 20 minutes
- Category: Baking
- Method: Baking
- Cuisine: American
- Diet: Vegetarian
Nutrition
- Serving Size: 1 muffin
- Calories: 250
- Sugar: 25g
- Sodium: 150mg
- Fat: 12g
- Saturated Fat: 2g
- Unsaturated Fat: 10g
- Trans Fat: 0g
- Carbohydrates: 35g
- Fiber: 2g
- Protein: 3g
- Cholesterol: 30mg