 Skip to content
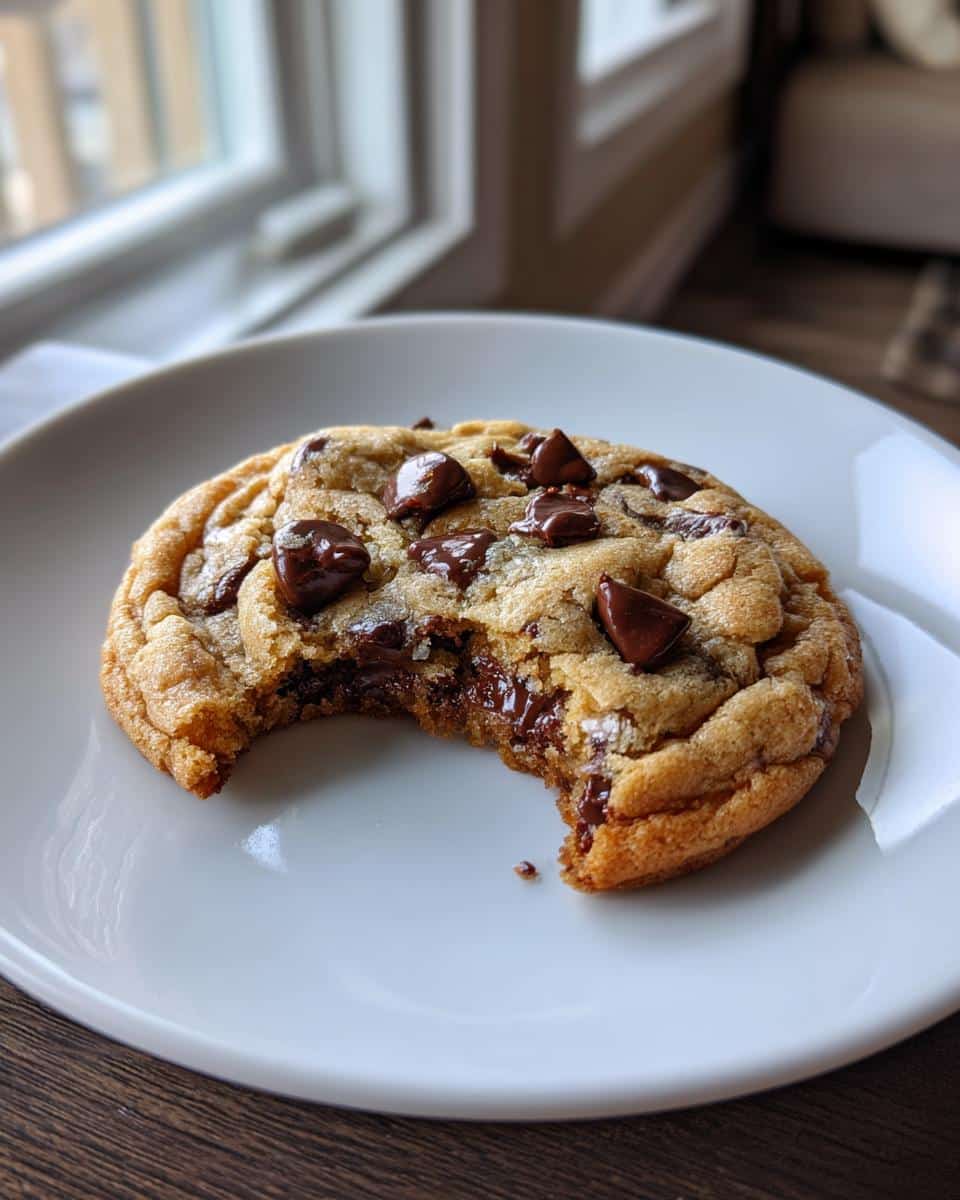
Alright, gather ’round cookie lovers! Riley here, straight from my cozy kitchen in Galway, ready to spill the beans (or should I say, chocolate chips?) on how to make the *best* Crumbl Chocolate Chip Cookies right at home. Now, I know what you’re thinking: can you *really* recreate that Crumbl magic? Trust me, you can! I’ve tinkered and tested (and maybe taste-tested a few too many!) to bring you a recipe that captures that soft, chewy, melt-in-your-mouth goodness. Growing up watching my granny whip up incredible treats from scratch definitely gave me a head start, and I’m so excited to share this little piece of cookie heaven with you. Get ready for some seriously delicious Crumbl Chocolate Chip Cookies!
Why You’ll Love These Crumbl Chocolate Chip Cookies
- Easy to make – even if you’re not a pro!
- Tastes *just* like the real deal (maybe even better!)
- Perfect for satisfying that Crumbl craving. You know the one!
- Chewy, soft, and oh-so-delicious.
The Perfect Crumbl Chocolate Chip Cookie Experience at Home
Okay, so you love Crumbl, but sometimes you just wanna bake ’em yourself, right? This recipe brings that warm, gooey experience right into your kitchen. We’re talking that signature soft center, those perfectly melty chocolate puddles, and that overall “Did I really just make *that*?” feeling. It’s all about capturing that Crumbl vibe without the Crumbl price tag!
Easy to Make
I’ve totally streamlined this recipe, so you don’t need to be a master baker. Simple steps, simple ingredients – you got this!
Tastes Just Like Crumbl
Seriously! I’ve obsessed over the ratios and the bake time to get that *exact* same taste. You’ll swear you just walked into a Crumbl store!
Ingredients for Your Crumbl Chocolate Chip Cookies
Alright, let’s gather our goodies! You’ll need: 1 cup of butter (that’s two sticks!), softened but not melted – trust me, it’s important! – ¾ cup packed light brown sugar, ½ cup granulated sugar, 2 large eggs, 1 teaspoon vanilla extract (the *good* stuff!), 2 ¼ cups all-purpose flour, 1 teaspoon baking soda, ½ teaspoon salt, and a whole lotta chocolate chips (about 2 cups). I like semi-sweet, but hey, you do you!
How to Prepare Your Crumbl Chocolate Chip Cookies
Okay, time to get baking! Don’t worry, I’ll walk you through it. First things first, preheat your oven to 350°F (175°C). This is super important, so don’t skip it! And line your baking sheet with parchment paper – makes cleanup a breeze and helps prevent sticking. Now, let’s get to that dough!
Mixing the Dough for Perfect Crumbl Chocolate Chip Cookies
This is where the magic starts! In a large bowl (or the bowl of your stand mixer, if you’re fancy), cream together that softened butter and both sugars until it’s light and fluffy. This usually takes about 3-5 minutes. Trust me, don’t rush this step! It’s what gives the cookies that amazing soft texture. Next, beat in the eggs one at a time, then stir in that vanilla.
Baking Your Crumbl Chocolate Chip Cookies to Perfection
Alright, now for the dry stuff! In a separate bowl, whisk together the flour, baking soda, and salt. Gradually add this to the wet ingredients, mixing until *just* combined. Don’t overmix! Now, fold in those chocolate chips. I like to save a few to press into the tops of the cookies before baking – makes ’em look extra pretty. Scoop out about ¼ cup of dough per cookie and place them on your prepared baking sheet. Bake for 9-11 minutes, or until the edges are golden brown but the centers still look a little soft.
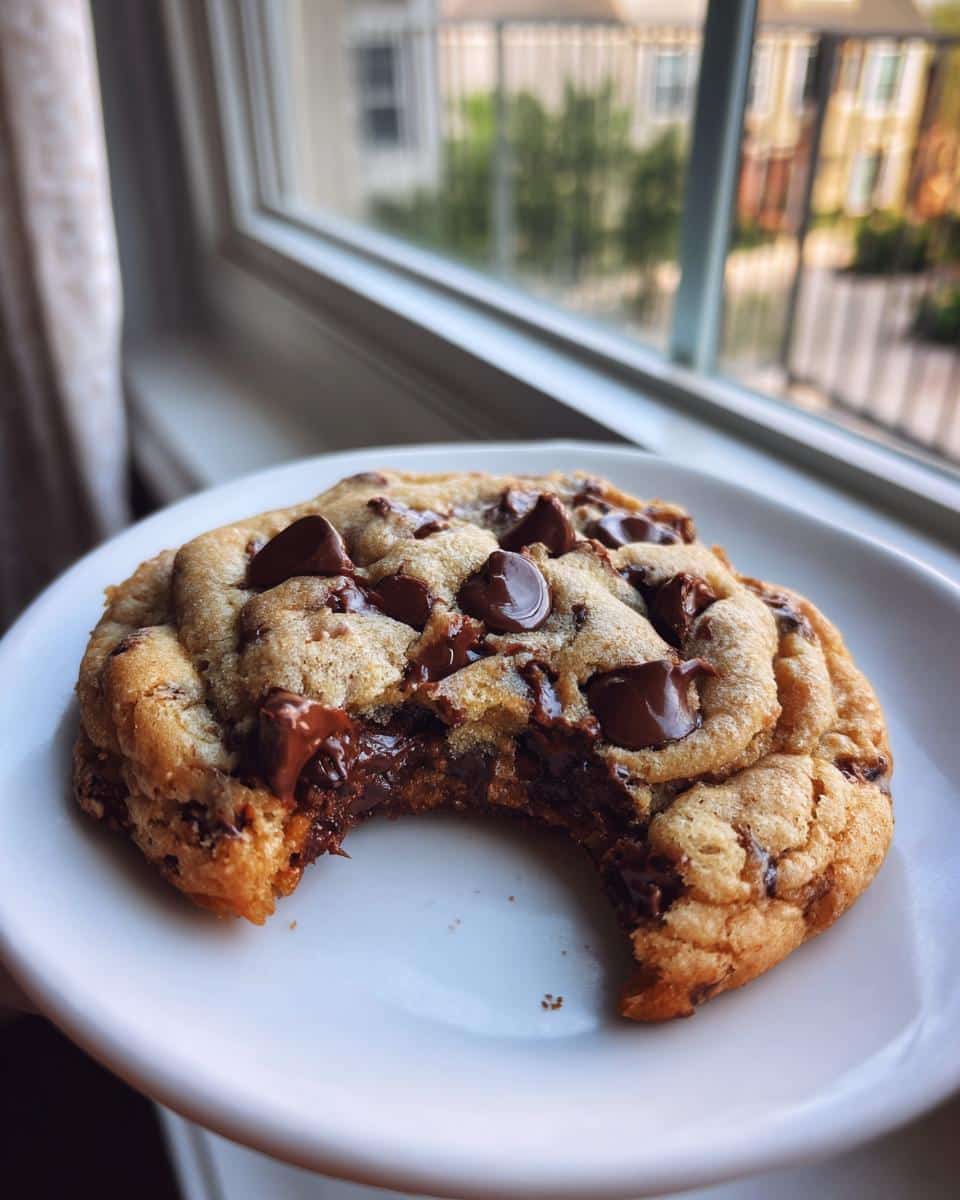
Achieving the Signature Crumbl Chocolate Chip Cookie Texture
Here’s the secret to that perfect Crumbl chew! Don’t overbake them! You want the edges to be set, but the centers should still look slightly underdone. They’ll continue to bake a little on the baking sheet as they cool. Let them cool on the baking sheet for a few minutes before transferring them to a wire rack to cool completely (if you can resist eating them straight away, that is!). Enjoy!
Ingredient Notes and Substitutions for Crumbl Chocolate Chip Cookies
Okay, let’s chat ingredients! That softened butter? Super important. It shouldn’t be melted, or your cookies will spread too thin. If you’re in a pinch, you *can* use salted butter, just reduce the salt in the recipe by 1/4 teaspoon. Brown sugar is key for that chewy texture, but if you only have dark brown sugar, that’ll work too – it’ll just give a slightly richer, molasses-y flavor. As for the chocolate chips? Go wild! Milk chocolate, dark chocolate, even those fancy chocolate chunks – whatever makes your heart sing! Just stick to about 2 cups, so the dough-to-chocolate ratio stays on point.
Tips for Success: Making the Best Crumbl Chocolate Chip Cookies
Want those cookies to be *perfect* every time? Of course, you do! Here are a couple of my top tips for Crumbl-level success. These little things make a HUGE difference, trust me!
Don’t Overmix the Dough
Seriously, resist the urge! Overmixing develops the gluten in the flour, and that means tough, not-so-chewy cookies. Mix until *just* combined, and you’ll be golden.
Chill the Dough
Okay, I know it’s hard to wait, but chilling the dough for at least 30 minutes (or even longer!) helps prevent spreading and intensifies the flavors. Plus, it makes the cookies even CHEWIER! It’s a win-win! For more baking tips, check out these easy cookie recipes.
FAQ About Crumbl Chocolate Chip Cookies
Got questions? I got answers! I know you’re itching to bake these amazing Crumbl Chocolate Chip Cookies, so let’s tackle some common questions before you get started!
Can I use different types of chocolate chips?
Absolutely! This is *your* cookie masterpiece! Feel free to swap semi-sweet for milk chocolate, dark chocolate, or even white chocolate chips. My favorite? A mix of semi-sweet and dark – gives ’em a little something extra! Just stick to that 2 cup measurement, and you’re golden.
How do I store these cookies?
If you have any leftovers (doubtful!), the best way to store these Crumbl Chocolate Chip Cookies is in an airtight container at room temperature. They’ll stay soft and chewy for about 3-4 days. But honestly, they’re usually gone way before then at my house!
Can I freeze the dough?
You bet! This is a great trick for having fresh-baked cookies whenever the craving hits. Just scoop the dough into balls, place them on a baking sheet, and freeze until solid. Then, transfer them to a freezer bag. When you’re ready to bake, just pop them straight into the oven (you might need to add a minute or two to the baking time). Freezing the dough is the secret to always being ready for unexpected guests! Learn more about cake mix cookie hacks.
Storing Your Homemade Crumbl Chocolate Chip Cookies
Okay, so you’ve baked a batch of these amazing Crumbl Chocolate Chip Cookies! If, *somehow*, you have leftovers, store them in an airtight container at room temperature. They’ll stay soft and chewy for up to 3 days. My secret? Pop a slice of bread in the container – it helps keep ’em extra moist! But let’s be real, they probably won’t last that long! For more delicious recipes, visit our recipes section.
Nutritional Information for Crumbl Chocolate Chip Cookies
Please note: Nutritional information is an estimate only and will vary based on specific ingredients and brands used. I can’t guarantee exact accuracy! For more information on baking, you can check out resources on ingredient properties.
Enjoyed This Recipe? Rate and Share Your Crumbl Chocolate Chip Cookies!
Loved these cookies? Leave a rating and comment below! And don’t forget to share your Crumbl Chocolate Chip Cookie creations – tag me, I wanna see ’em!
Print
Flawless Crumbl Chocolate Chip Cookies Recipe: Bake 10/10
A simple and delicious recipe for homemade pear butter, perfect for fall. This spread is slow-cooked to a rich consistency with warm spices, offering a flavorful alternative to jam.
- Total Time: 3 hours 30 minutes
- Yield: Approximately 4-5 cups 1x
Ingredients
- 4 pounds ripe pears (about 8–10 medium), peeled, cored, and quartered
- 1 cup water
- 1 cup granulated sugar (or to taste)
- 1 teaspoon ground cinnamon
- 1/4 teaspoon ground nutmeg
- 1/8 teaspoon ground cloves
- 1 tablespoon lemon juice (optional)
Instructions
- Combine the quartered pears and water in a large pot or Dutch oven.
- Bring to a boil over medium-high heat, then reduce heat to low, cover, and simmer for 20-30 minutes, or until the pears are very tender.
- Remove from heat and let cool slightly.
- Puree the cooked pears using an immersion blender or transfer to a regular blender. Blend until smooth.
- Return the pureed pears to the pot. Stir in the sugar, cinnamon, nutmeg, cloves, and lemon juice (if using).
- Cook over low heat, uncovered, stirring frequently, for 1-2 hours, or until the mixture has thickened to your desired consistency. It should be spreadable but not runny.
- Skim off any foam that forms on the surface.
- Pour the hot pear butter into clean jars, leaving about 1/4 inch headspace.
- Wipe the rims of the jars clean, apply lids and bands, and process in a boiling water bath for 10 minutes (adjust for altitude if necessary).
- Let jars cool completely on a towel-lined counter before storing.
Notes
- Use ripe pears for the best flavor and texture.
- Adjust sugar and spices to your preference.
- For a smoother consistency, you can strain the pear puree after blending.
- This recipe can also be made in a slow cooker on low for 6-8 hours, stirring occasionally.
- Pear butter can be stored in the refrigerator for up to 3 weeks if not canning.
- Prep Time: 30 minutes
- Cook Time: 2-3 hours
- Category: Spreads and Preserves
- Method: Stovetop
- Cuisine: Irish-American
- Diet: Vegetarian
Nutrition
- Serving Size: 2 tablespoons
- Calories: 70
- Sugar: 17g
- Sodium: 0mg
- Fat: 0g
- Saturated Fat: 0g
- Unsaturated Fat: 0g
- Trans Fat: 0g
- Carbohydrates: 18g
- Fiber: 1g
- Protein: 0g
- Cholesterol: 0mg